
Before you start
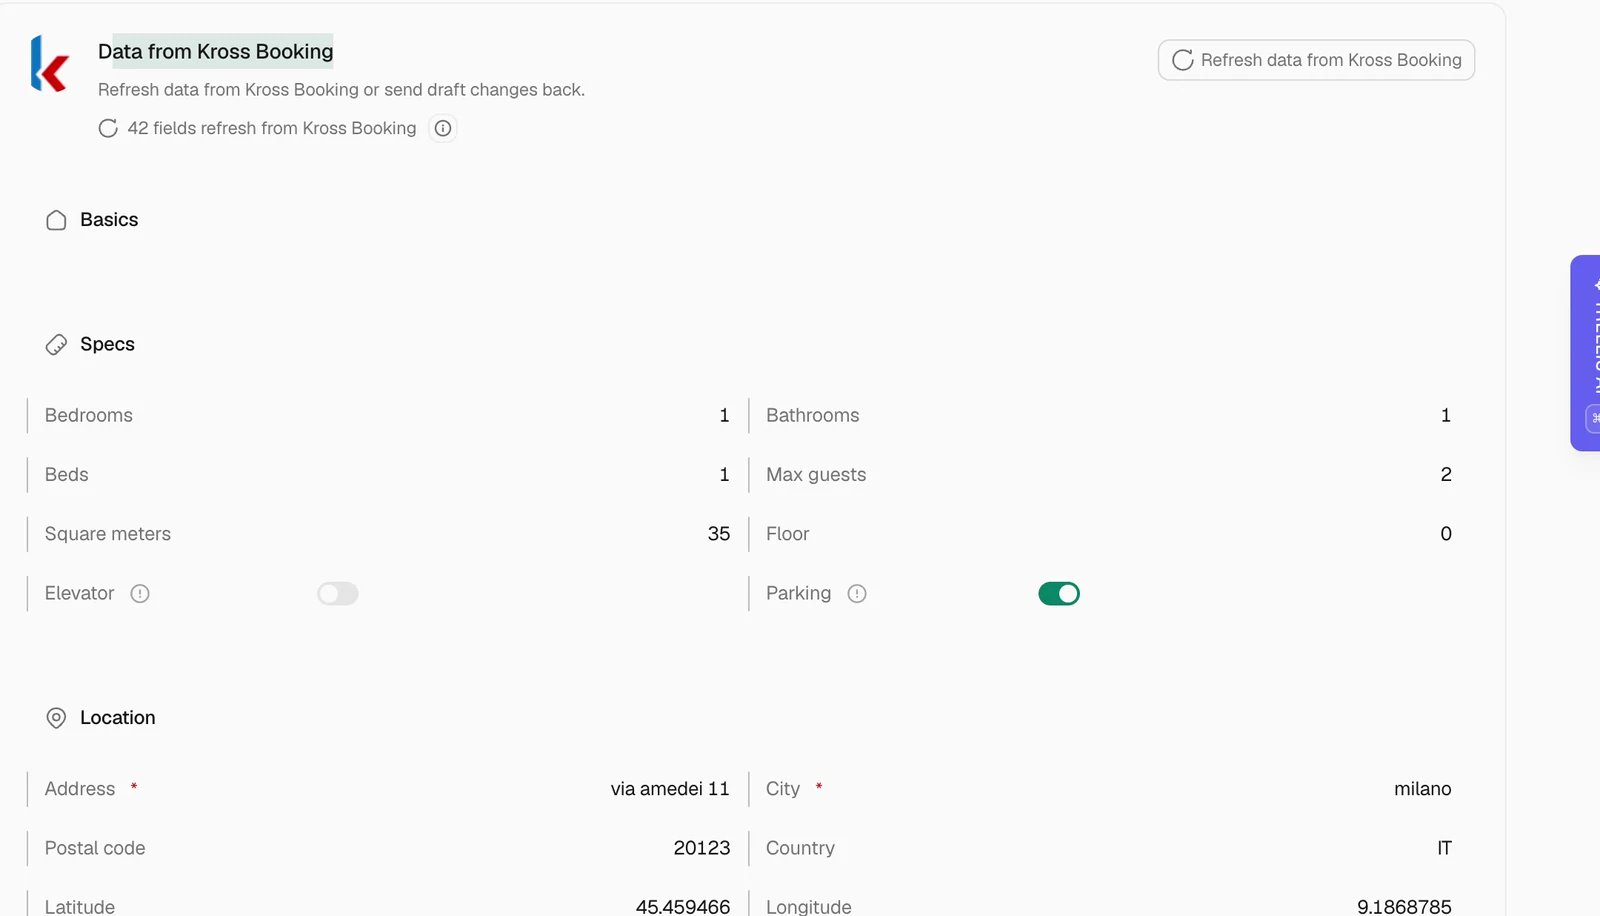
If your properties come from a PMS, connect it and check the listing mappings first. Some fields are supplied by that system; others belong to Trellis. Your role and property scope determine which homes you can see and edit.Find a property
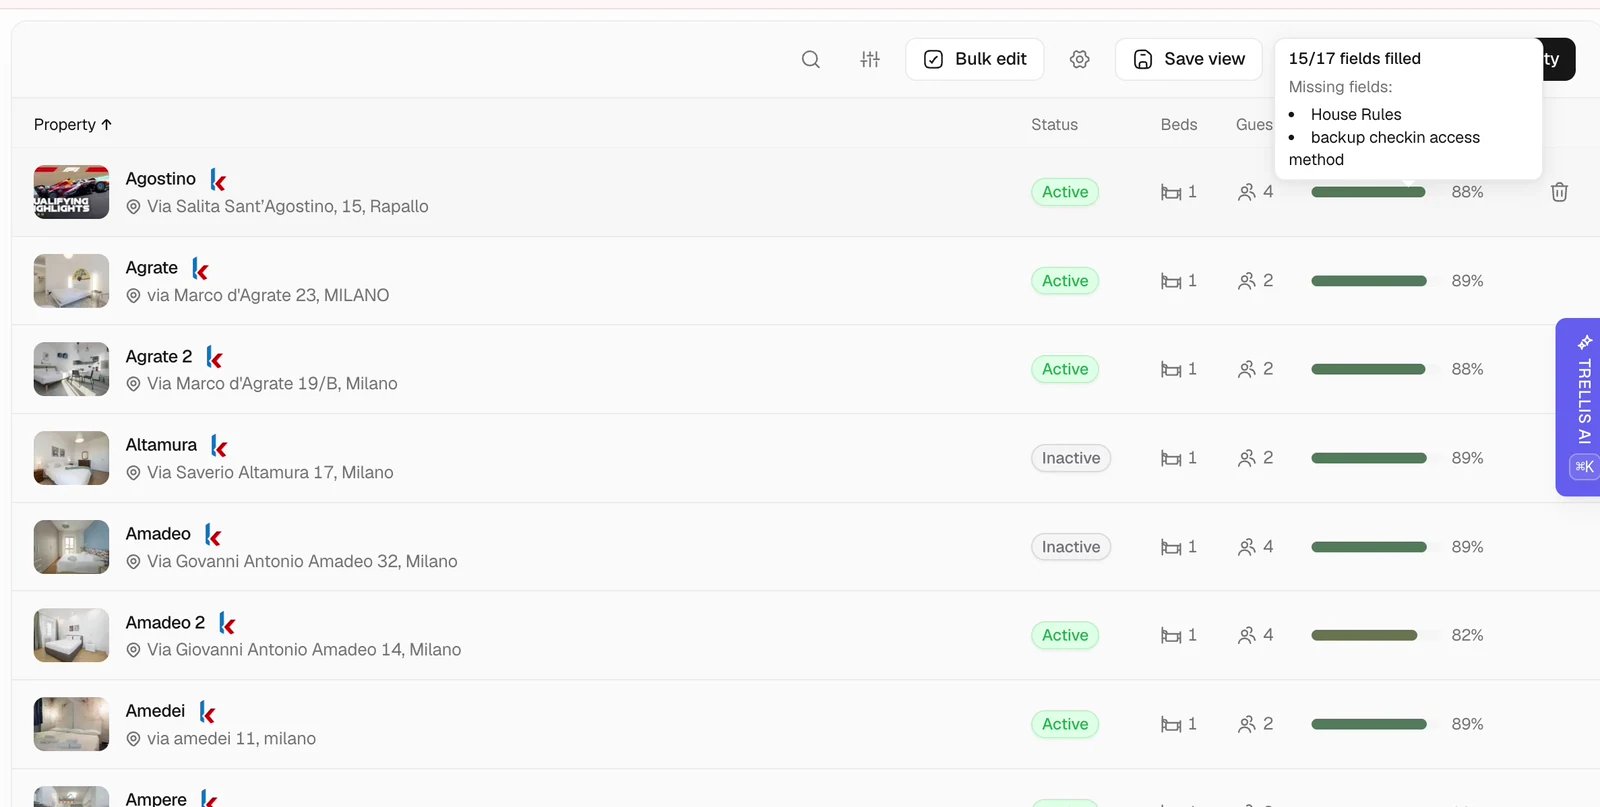
Update property details
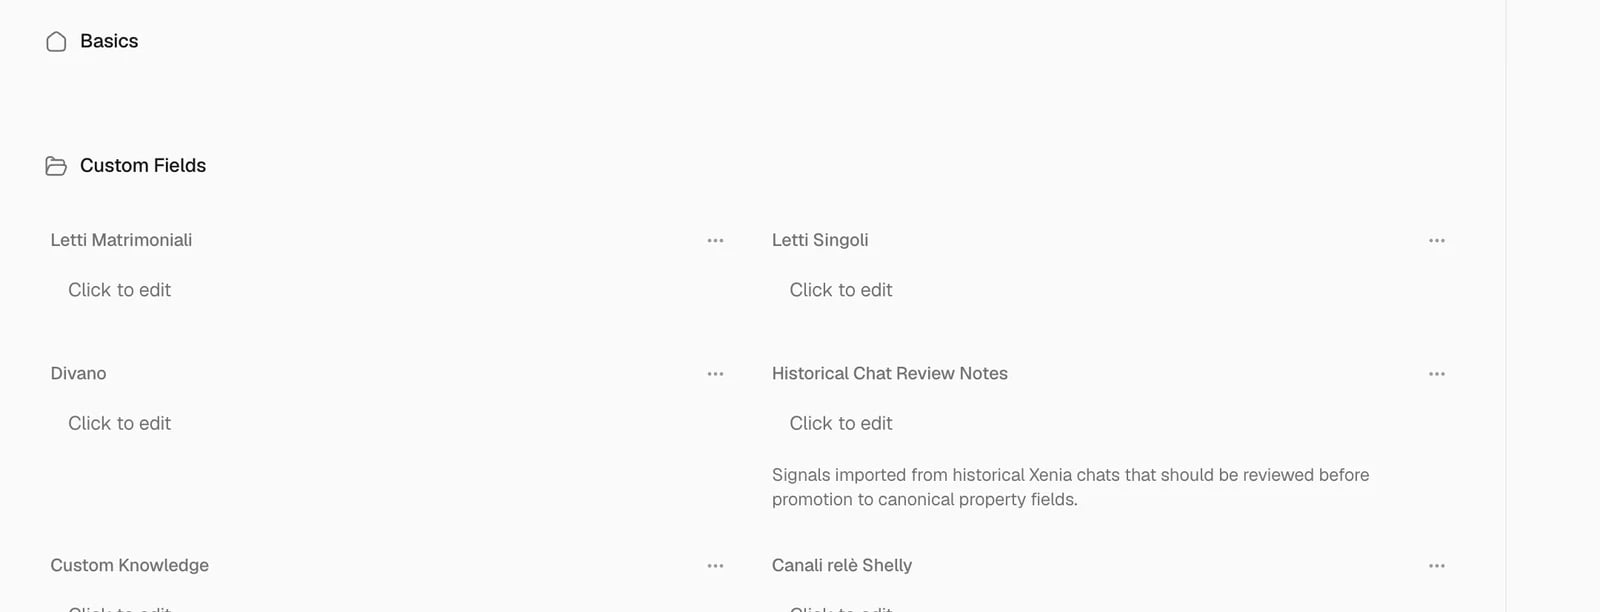
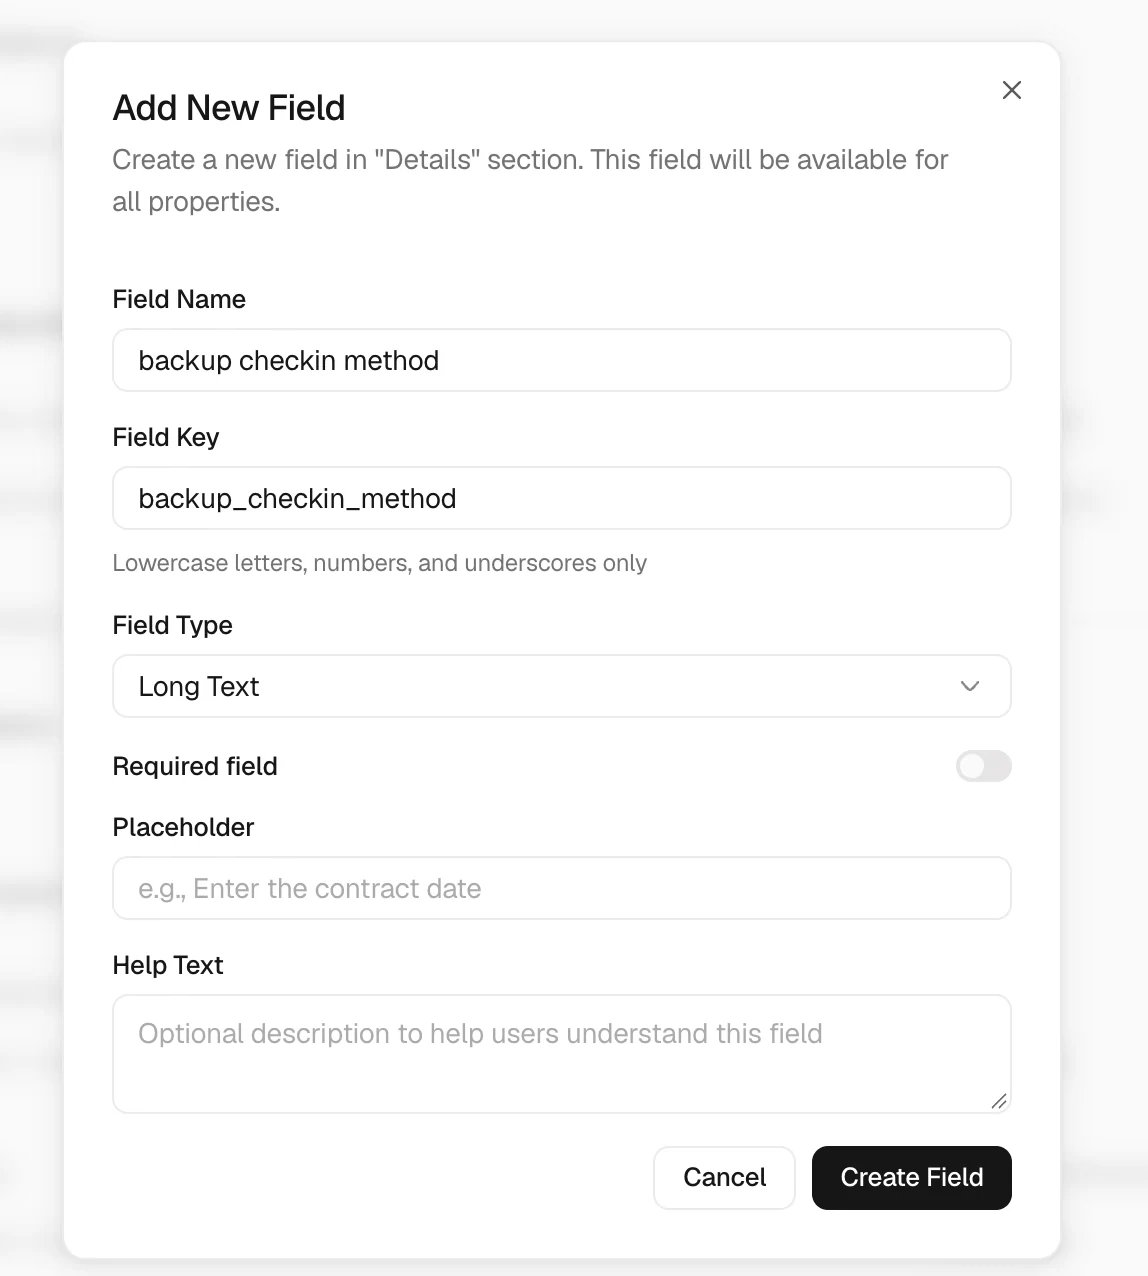
Use custom fields
Review property photos
Rooms and elements
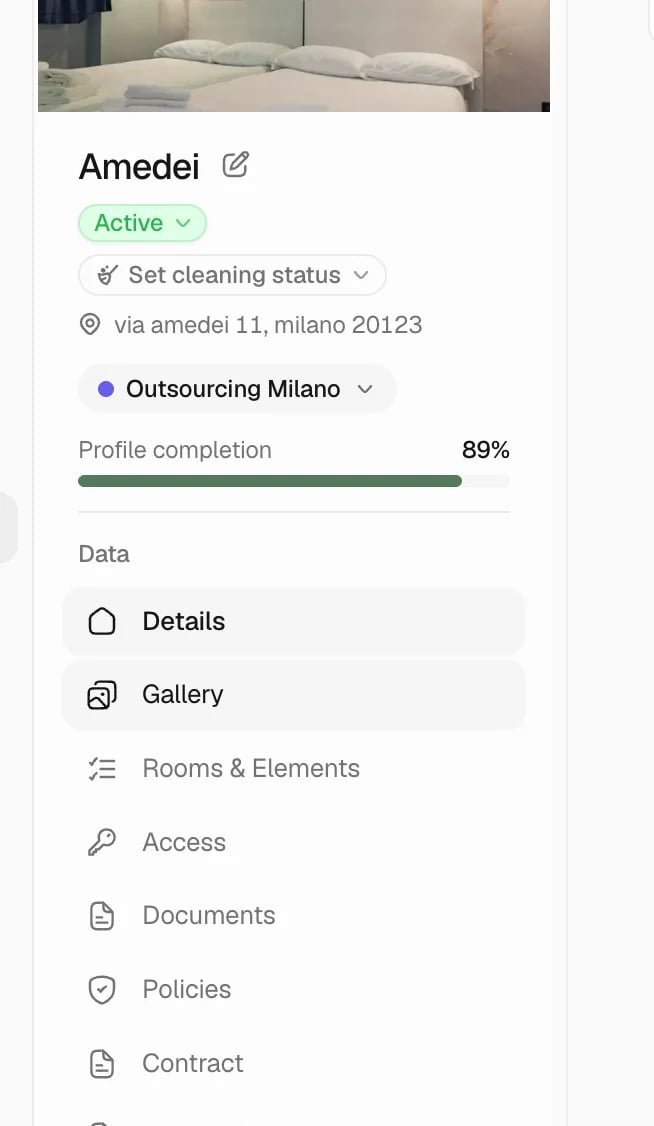
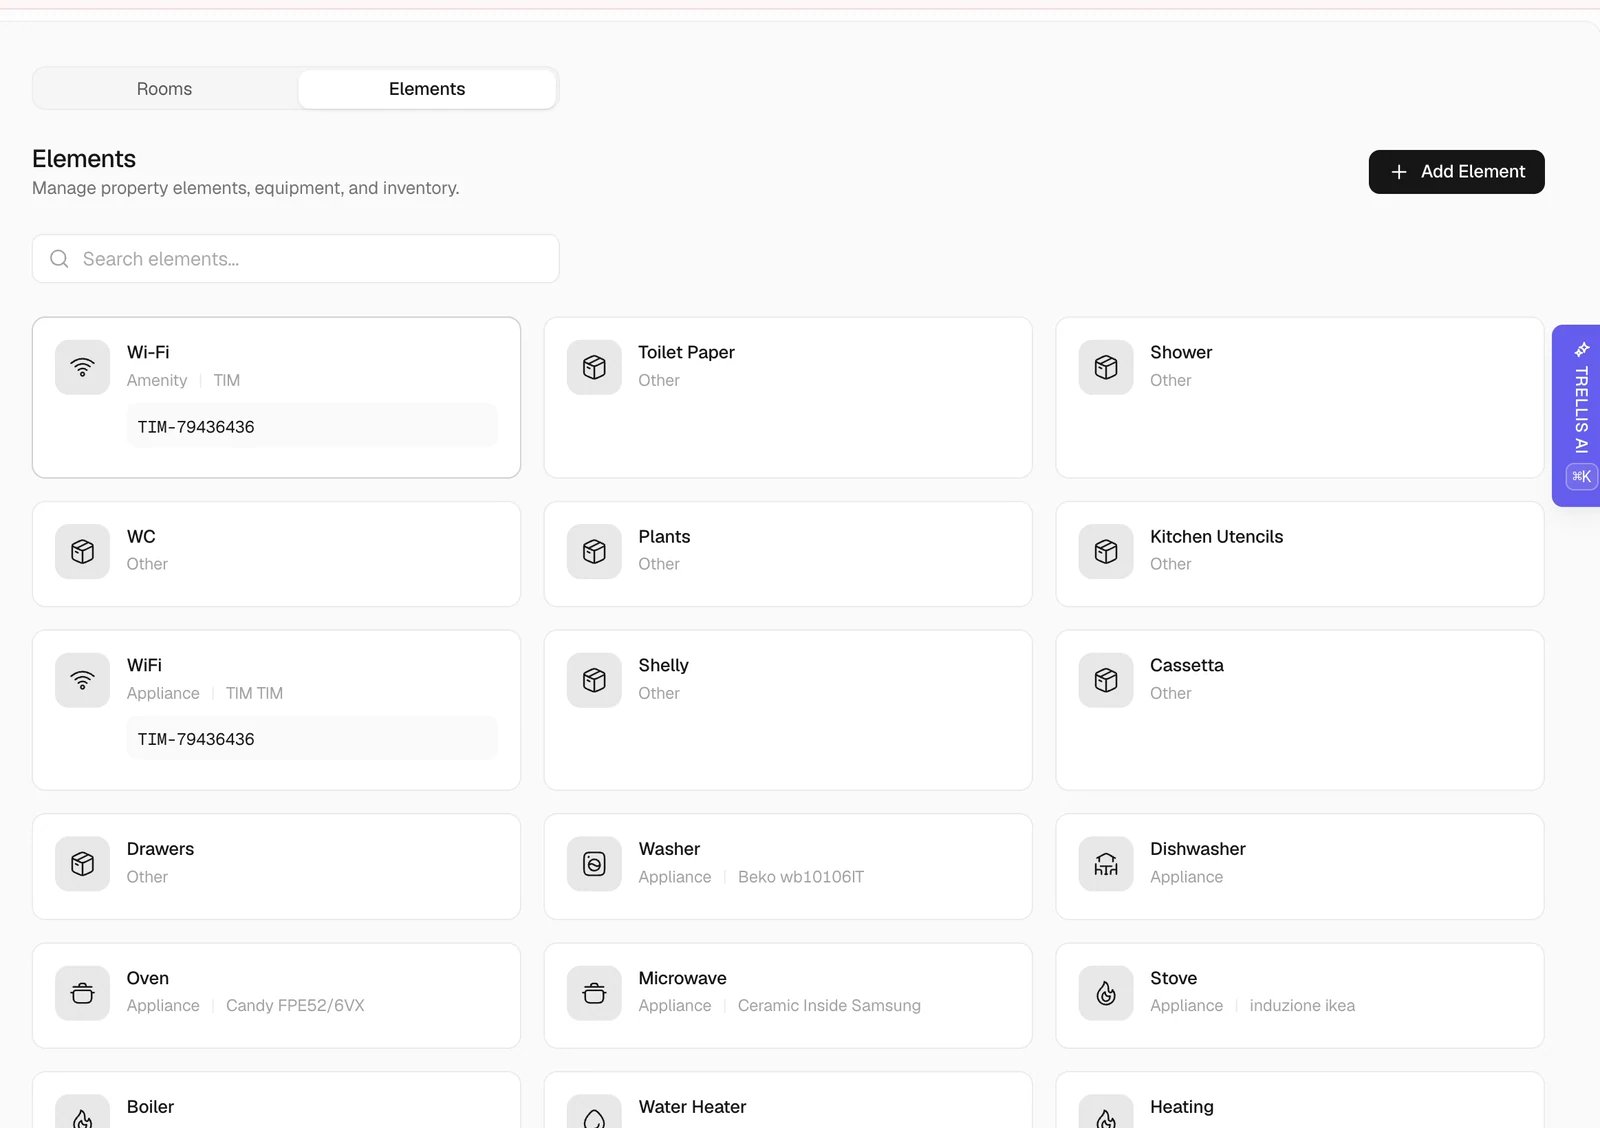
Rooms and elements describe the property’s spaces and equipment. Task checklists use them to include relevant steps; the AI Agent uses them for amenity information and instructions. Open the property and choose Rooms & Elements under Data. Use the Rooms and Elements tabs to maintain each part of the property.Rooms
1
Open the Rooms tab
Open the property, select Rooms & Elements, then the Rooms tab.
2
Add a room
Click Add Room. Then choose one of two ways:
- Quick Add - Tap a room type. Trellis names repeats for you (Bedroom, then Bedroom 2).
- Custom - Set the room name and type yourself.
3
Edit a room
Click a room to rename it, add photos, or assign elements to it. You can also remove a room you no longer need.
If a property was imported from a connected system, rooms may already be filled in. If a property
has no detailed rooms, templates use the property’s room counts when repeating a step per room.
Elements
1
Open the Elements tab
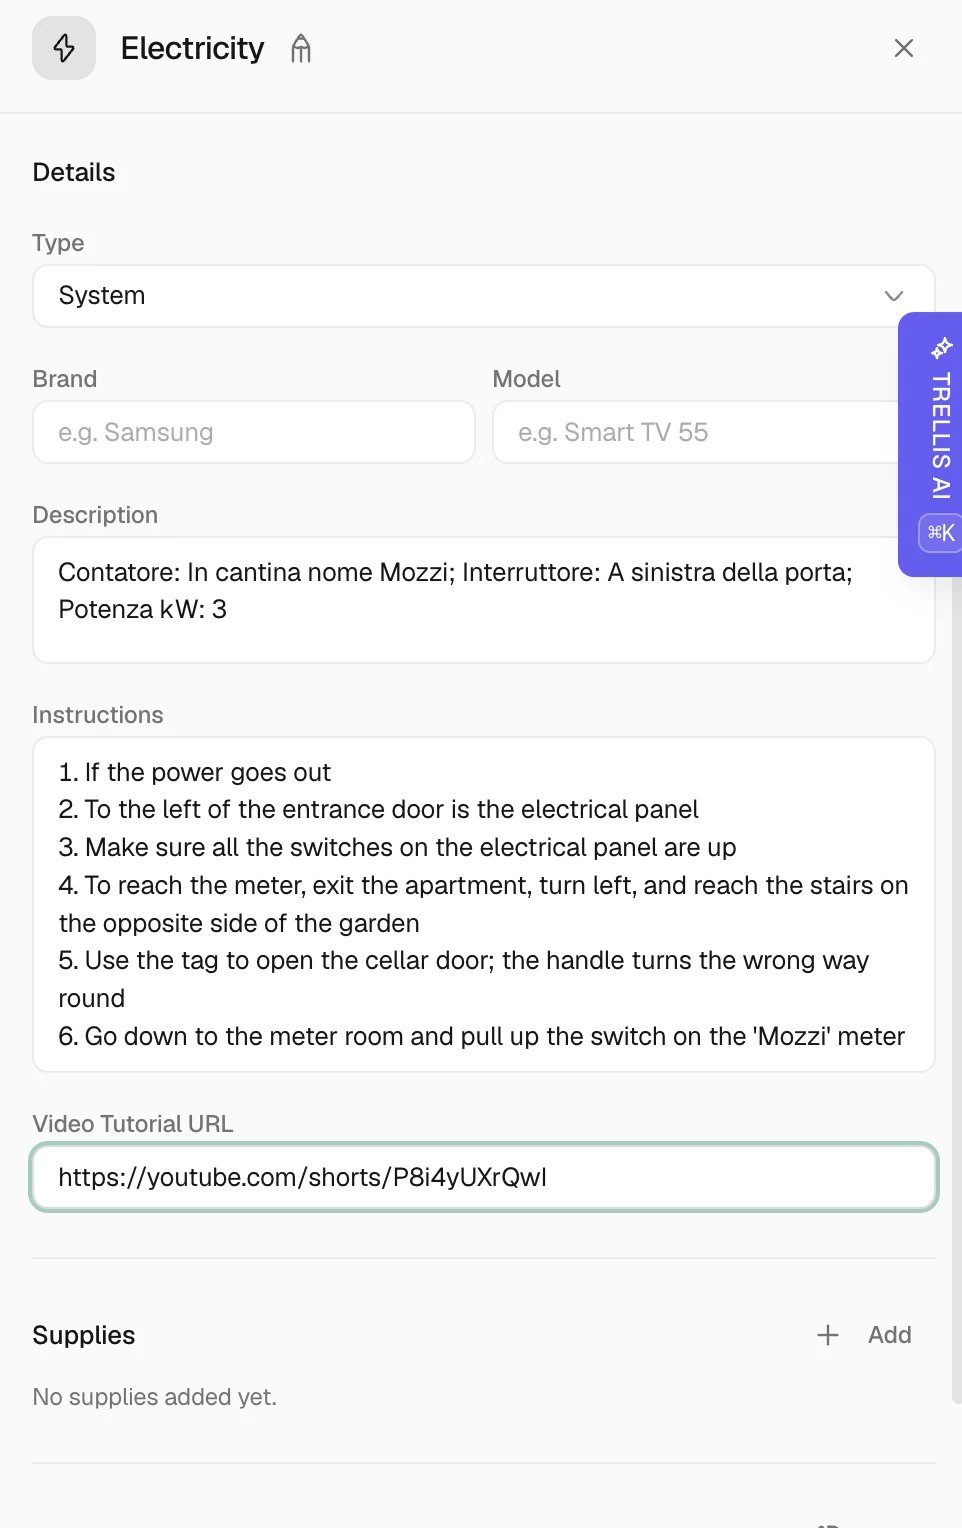
Open the property, select Rooms & Elements, then the Elements tab.
2
Add an element
Click Add Element. Use Quick Add to pick from the preset list (pool, grill, hot tub,
washer, dryer, smart lock, and many more), or use Custom to create your own with a name and
type.
3
Set whether it is present
Click an element to open it, then use the Active switch to mark whether the property has it.
Turn amenities on and off with Active
The Active switch on each element marks whether the property currently has that amenity:- Active - the element is present. Template steps linked to it appear on new tasks, and the AI can use it.
- Inactive - the element is dimmed and labeled “Inactive.” Template steps linked to it are skipped on new tasks.
Turning an element off does not delete it. The element stays on the property for reference, and
you can turn it back on if the property gets that amenity later. To remove an element permanently,
use Delete instead, which also removes its supplies, photos, and documents.
Each element also has a Show in house manual toggle. For the AI agent to share an element with
guests, the element must be both Active and Show in house manual. Use this to keep
team-only items (like a utility shutoff) out of guest-facing answers.
Per-property template settings
Each property has a Templates section where you can override a shared template’s defaults (duration, number of people, supplies, and costs) for just that property, without creating a separate template. Open the property, select the Templates section, and click a template to set its per-property values. See Per-property template settings in the Tasks documentation for the full walkthrough.Inventory for one property
Open a property and select Inventory in the sidebar to review and update stock for that home. The section uses the warehouse linked to the property and shows the same counts as the portfolio-wide Supplies inventory. Select any quantity in a House or Owner Closet column to edit it. Changes appear in Supplies as well.Prepare arrival and access instructions
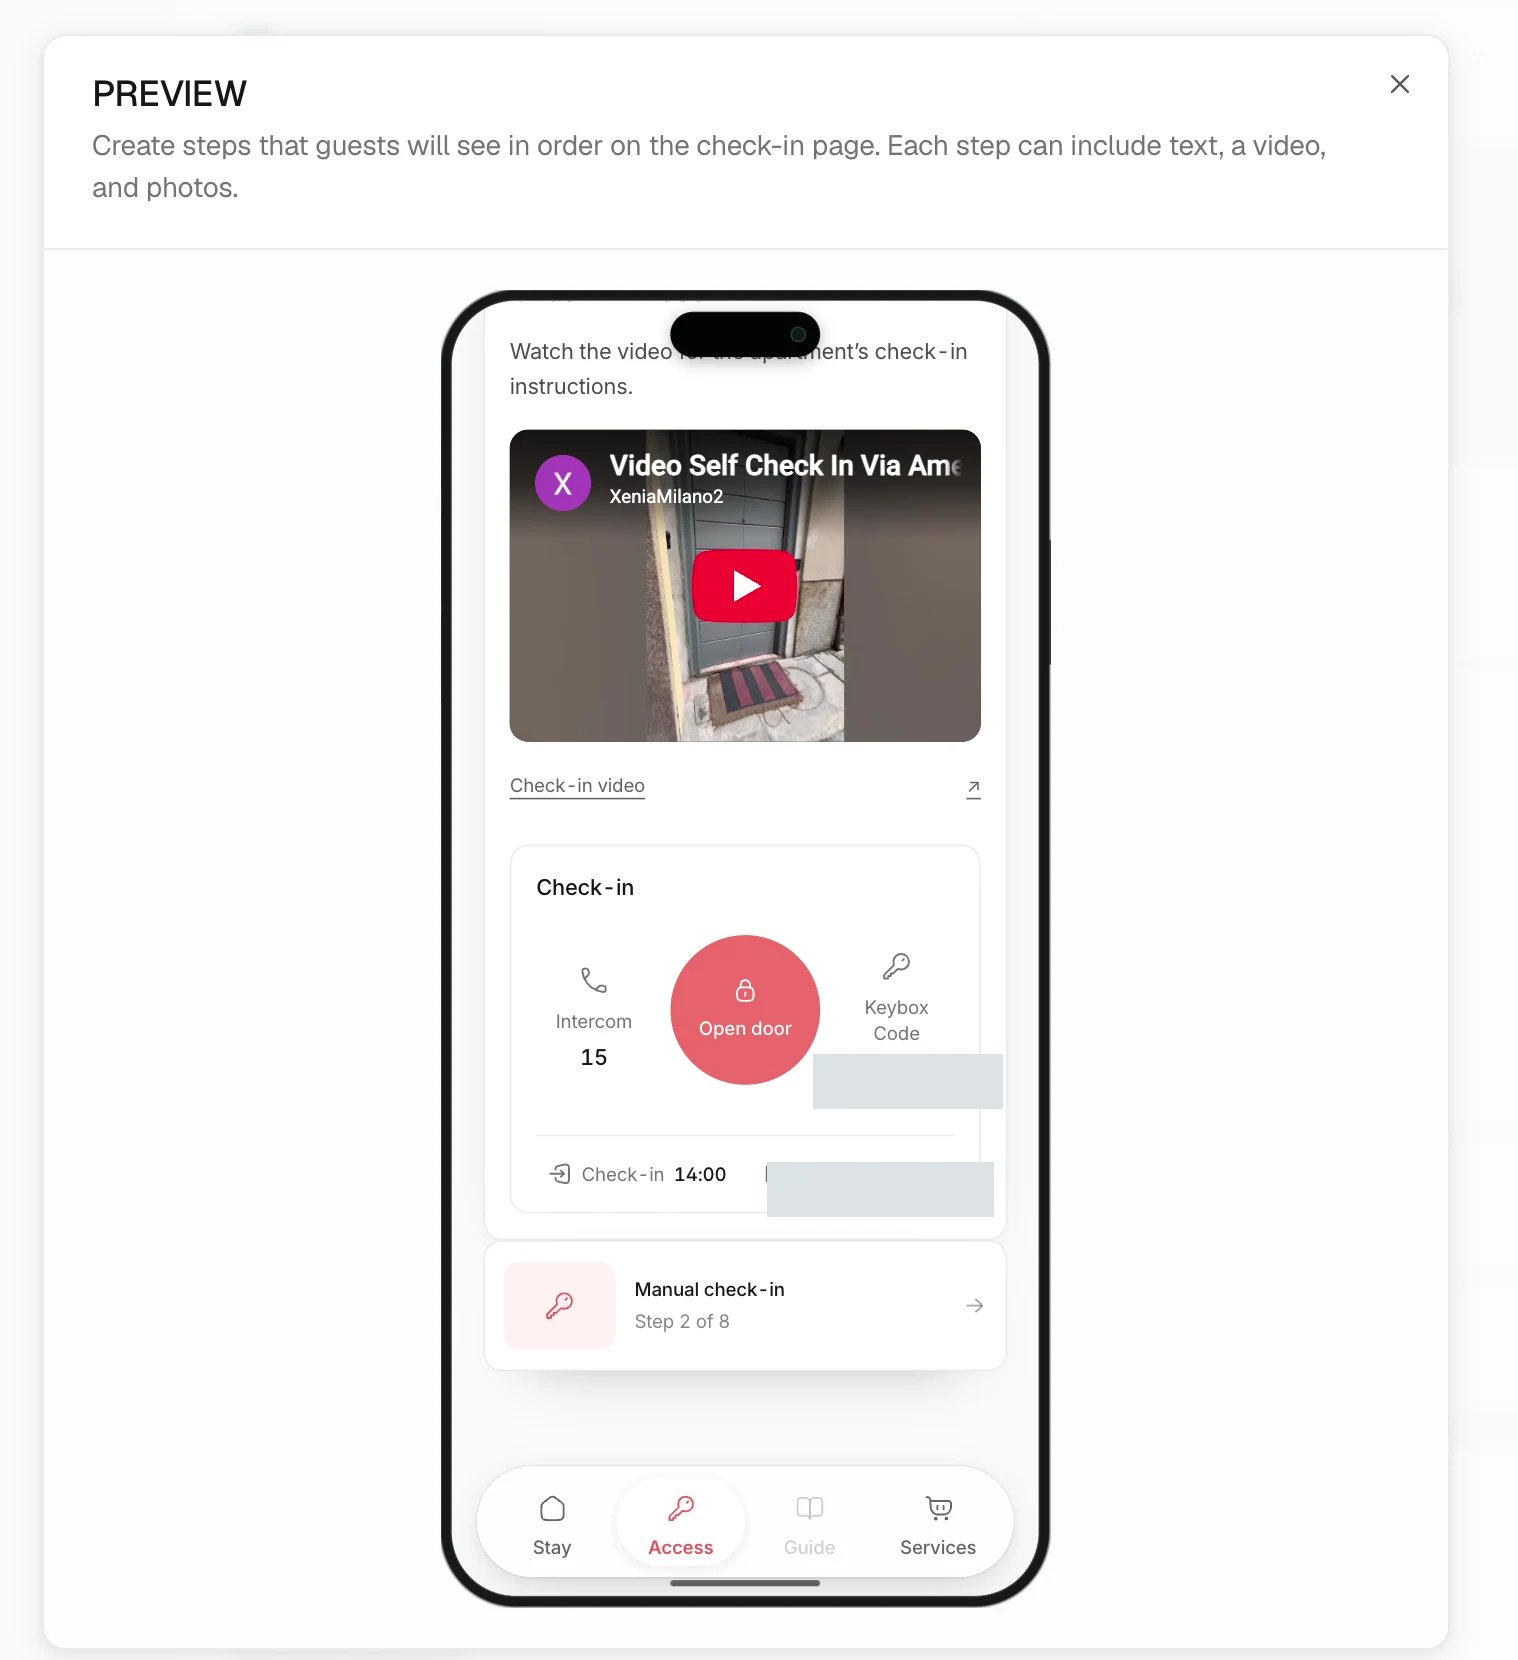
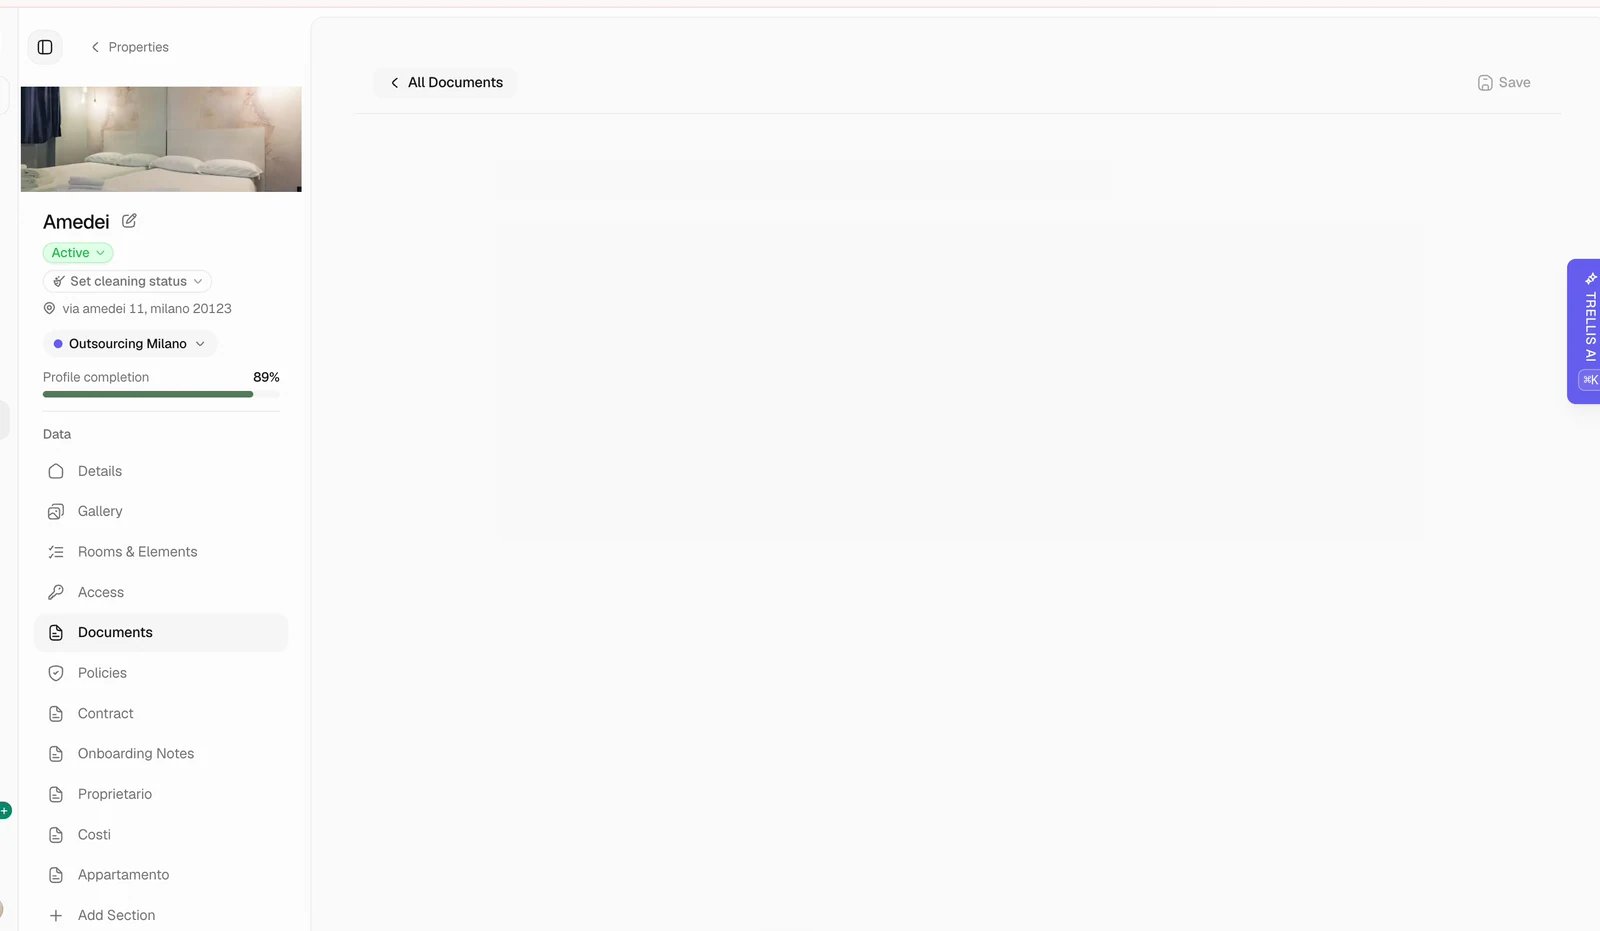
Attach documents
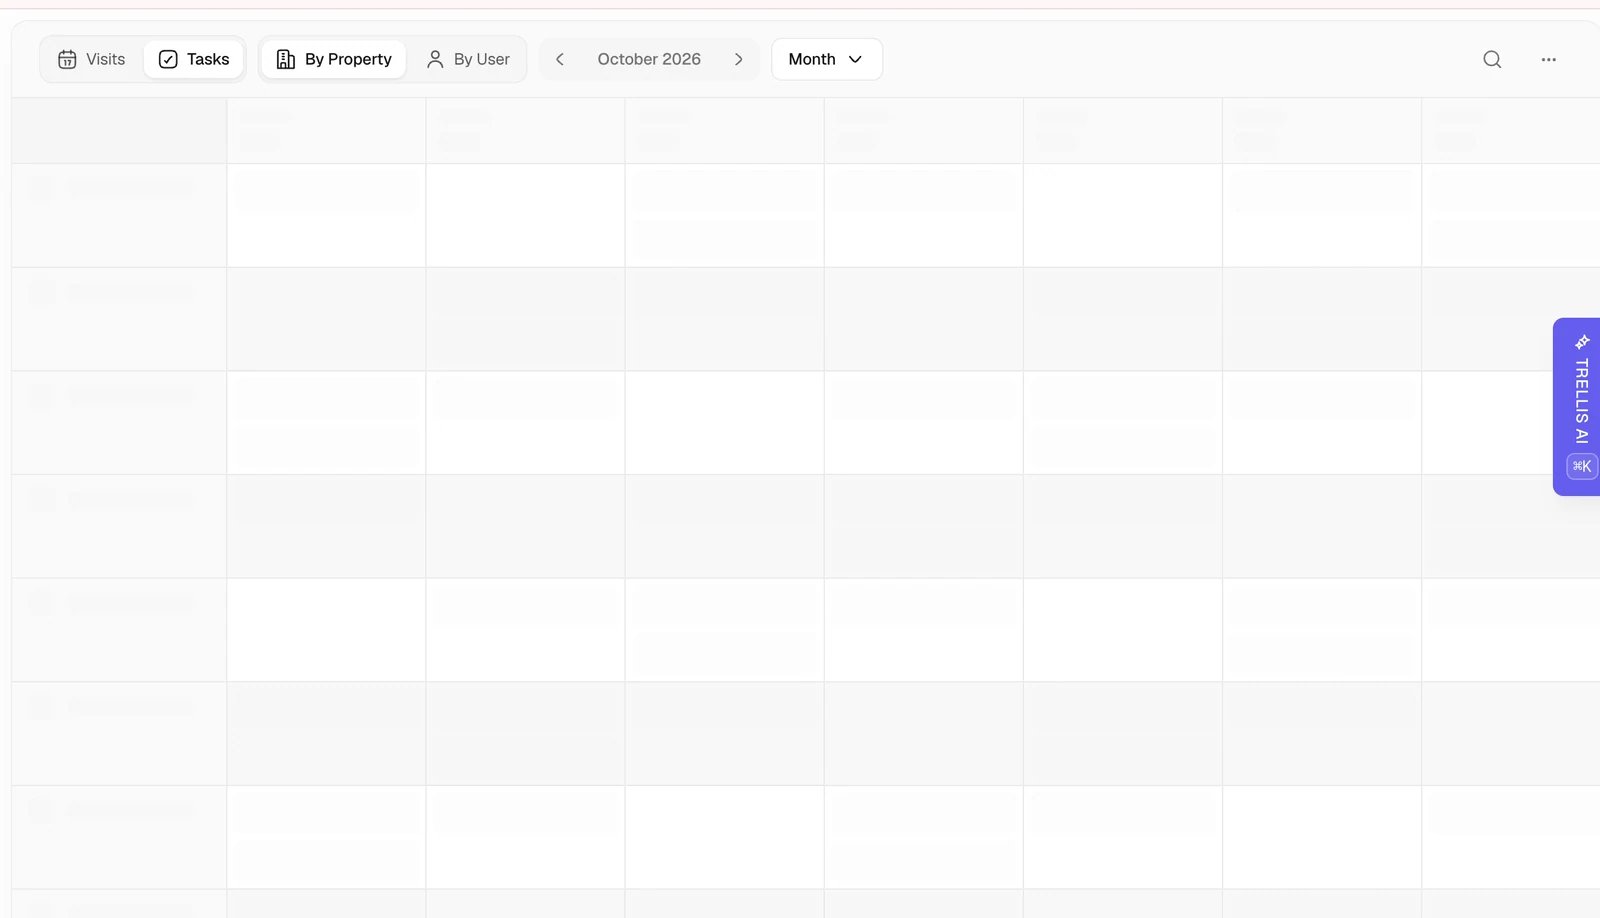
Review planned work
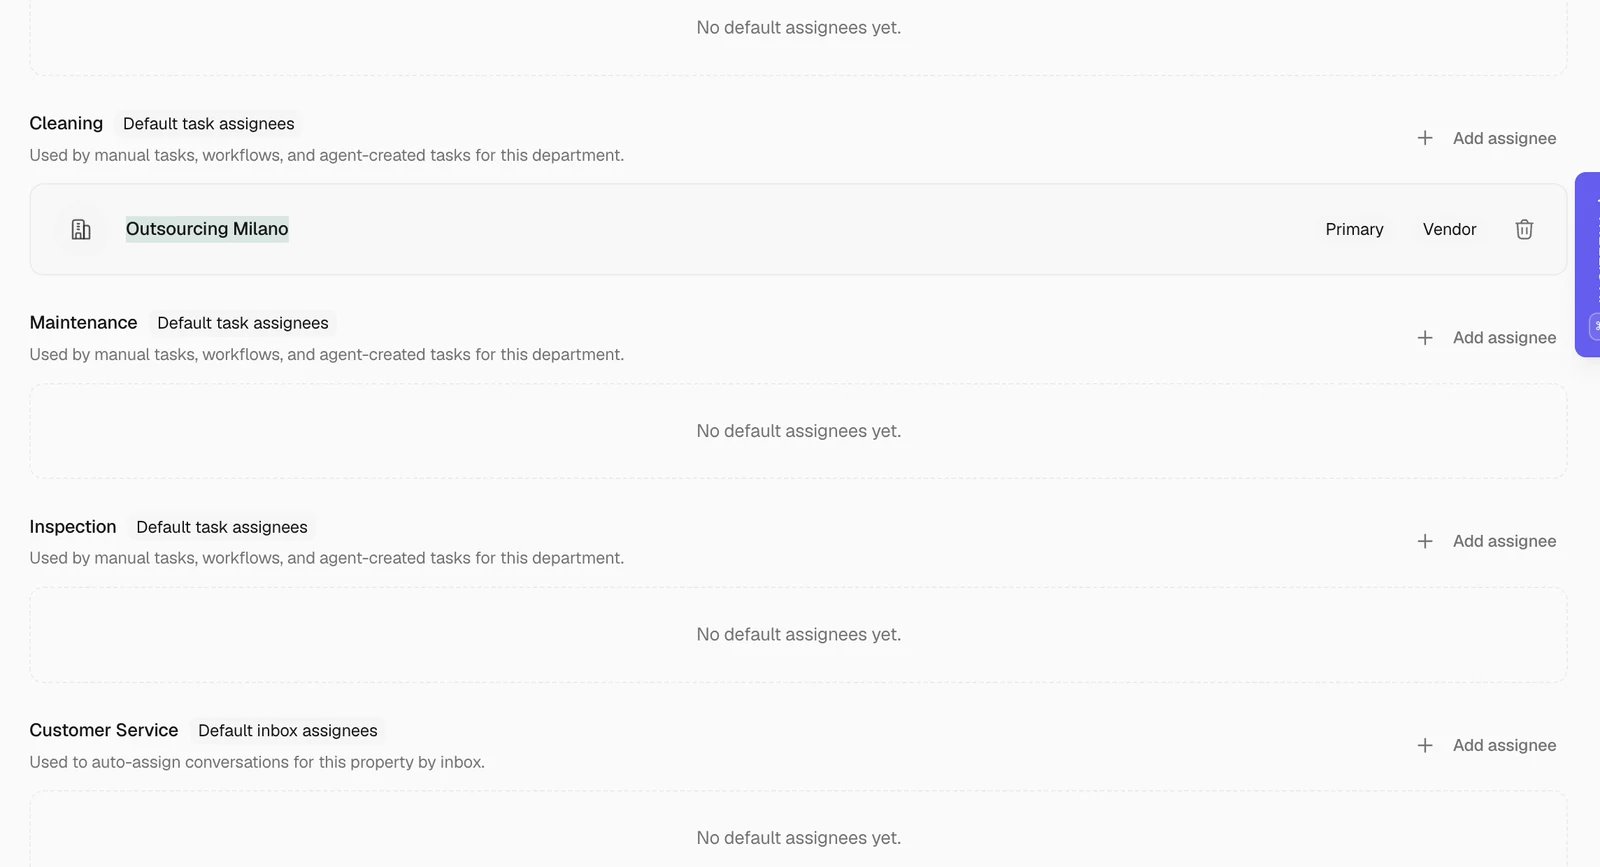
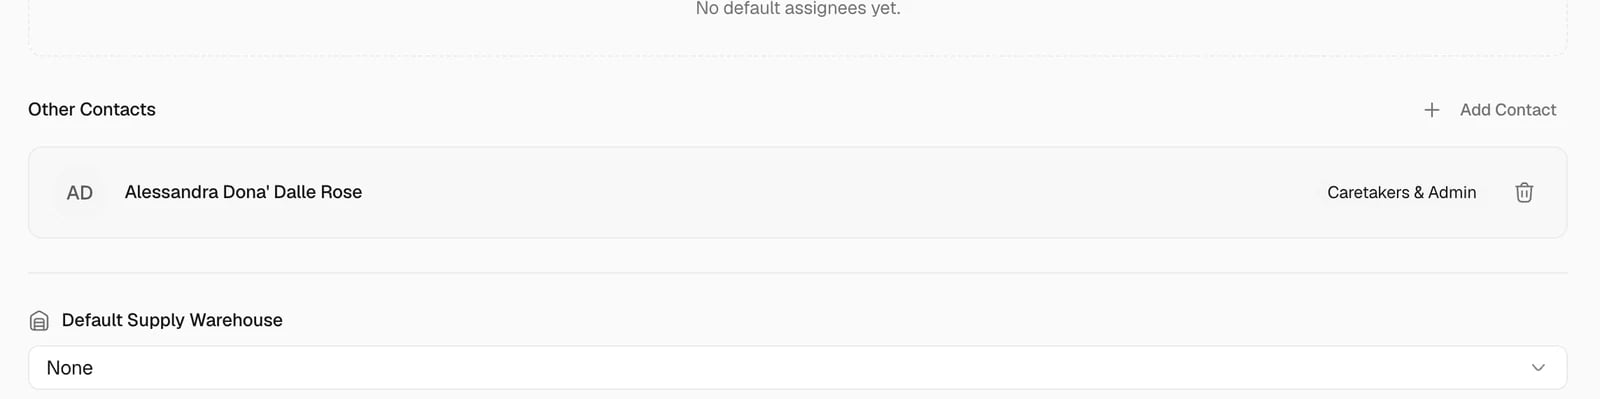
Connect people and default assignees
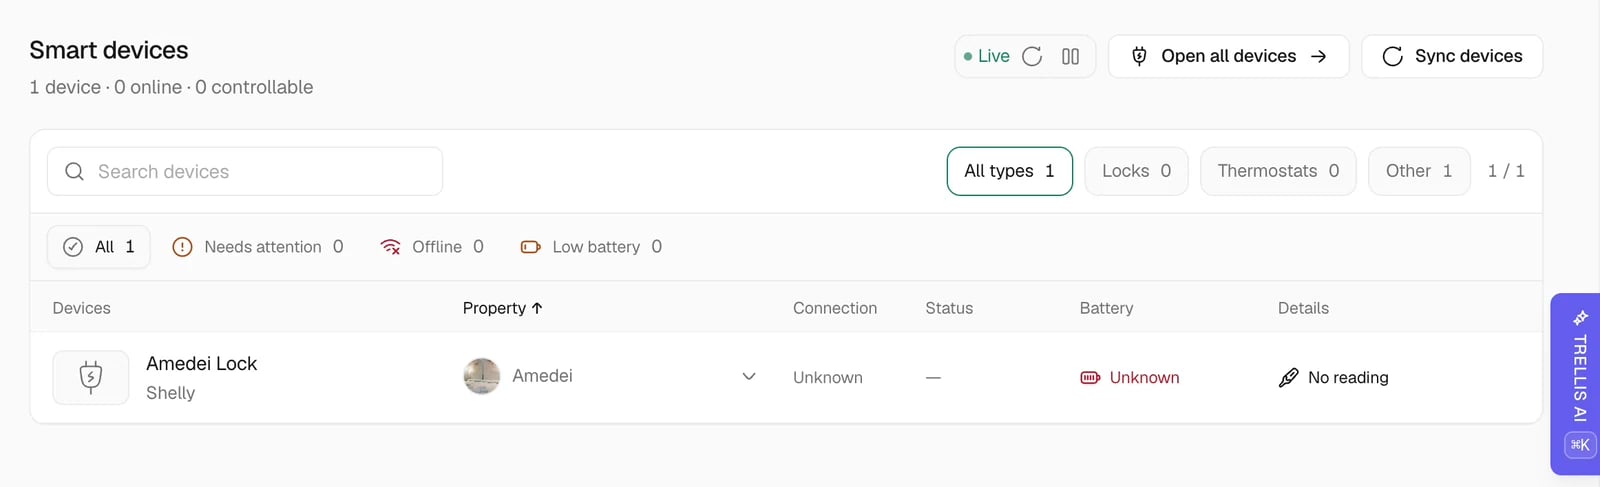
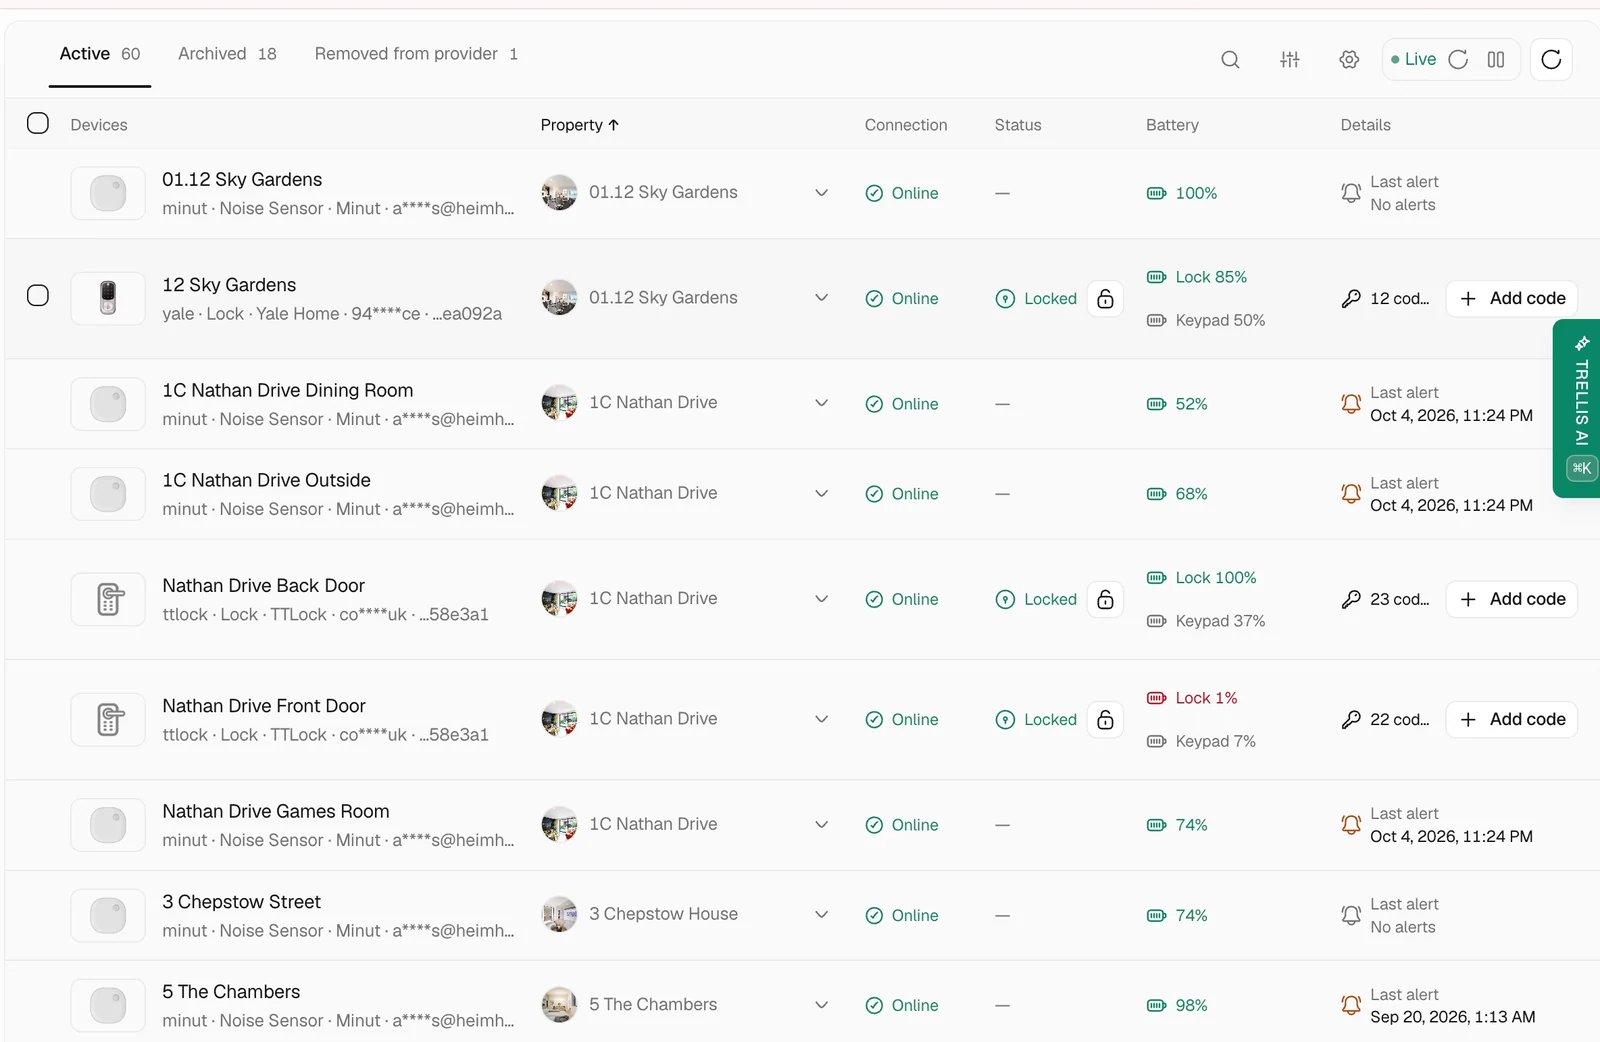
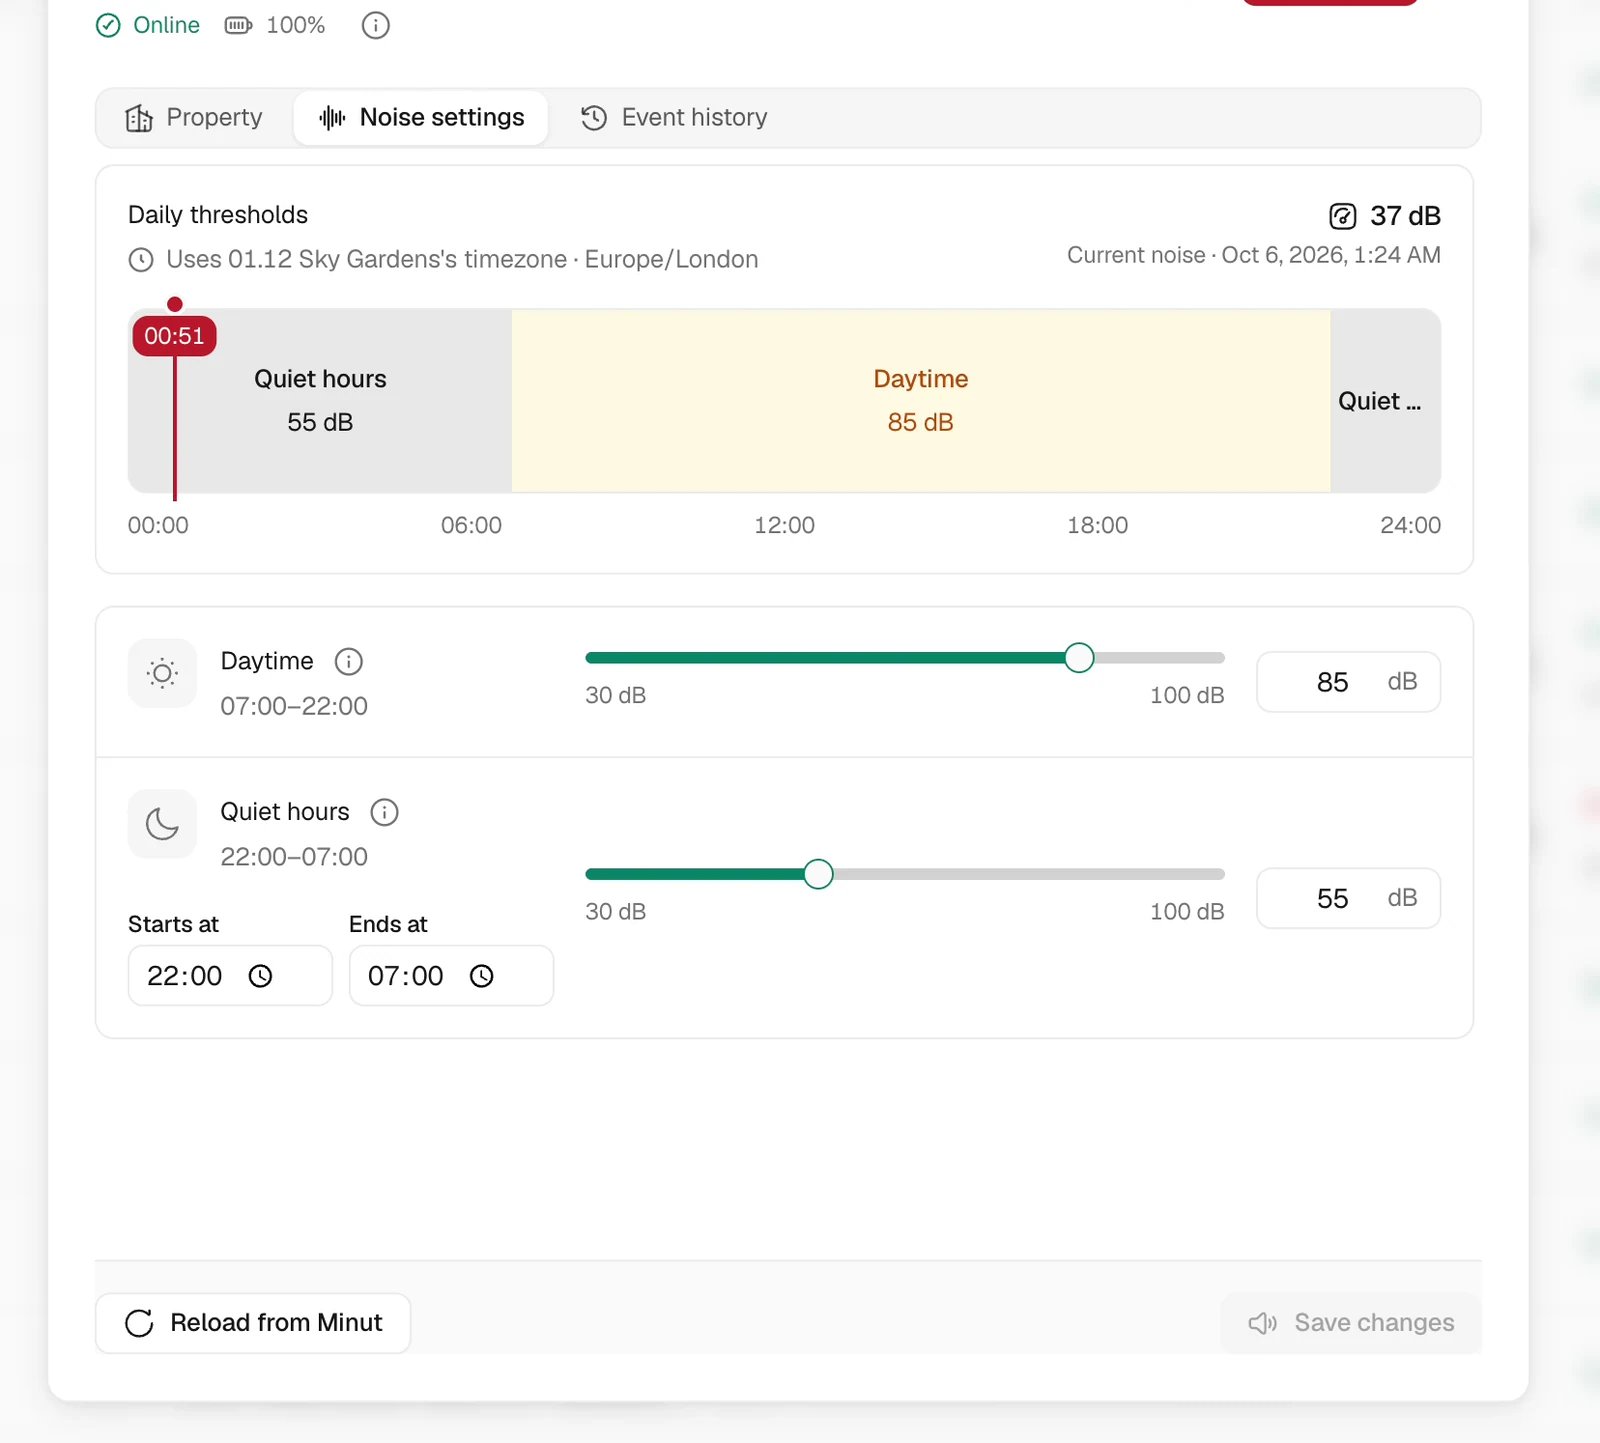
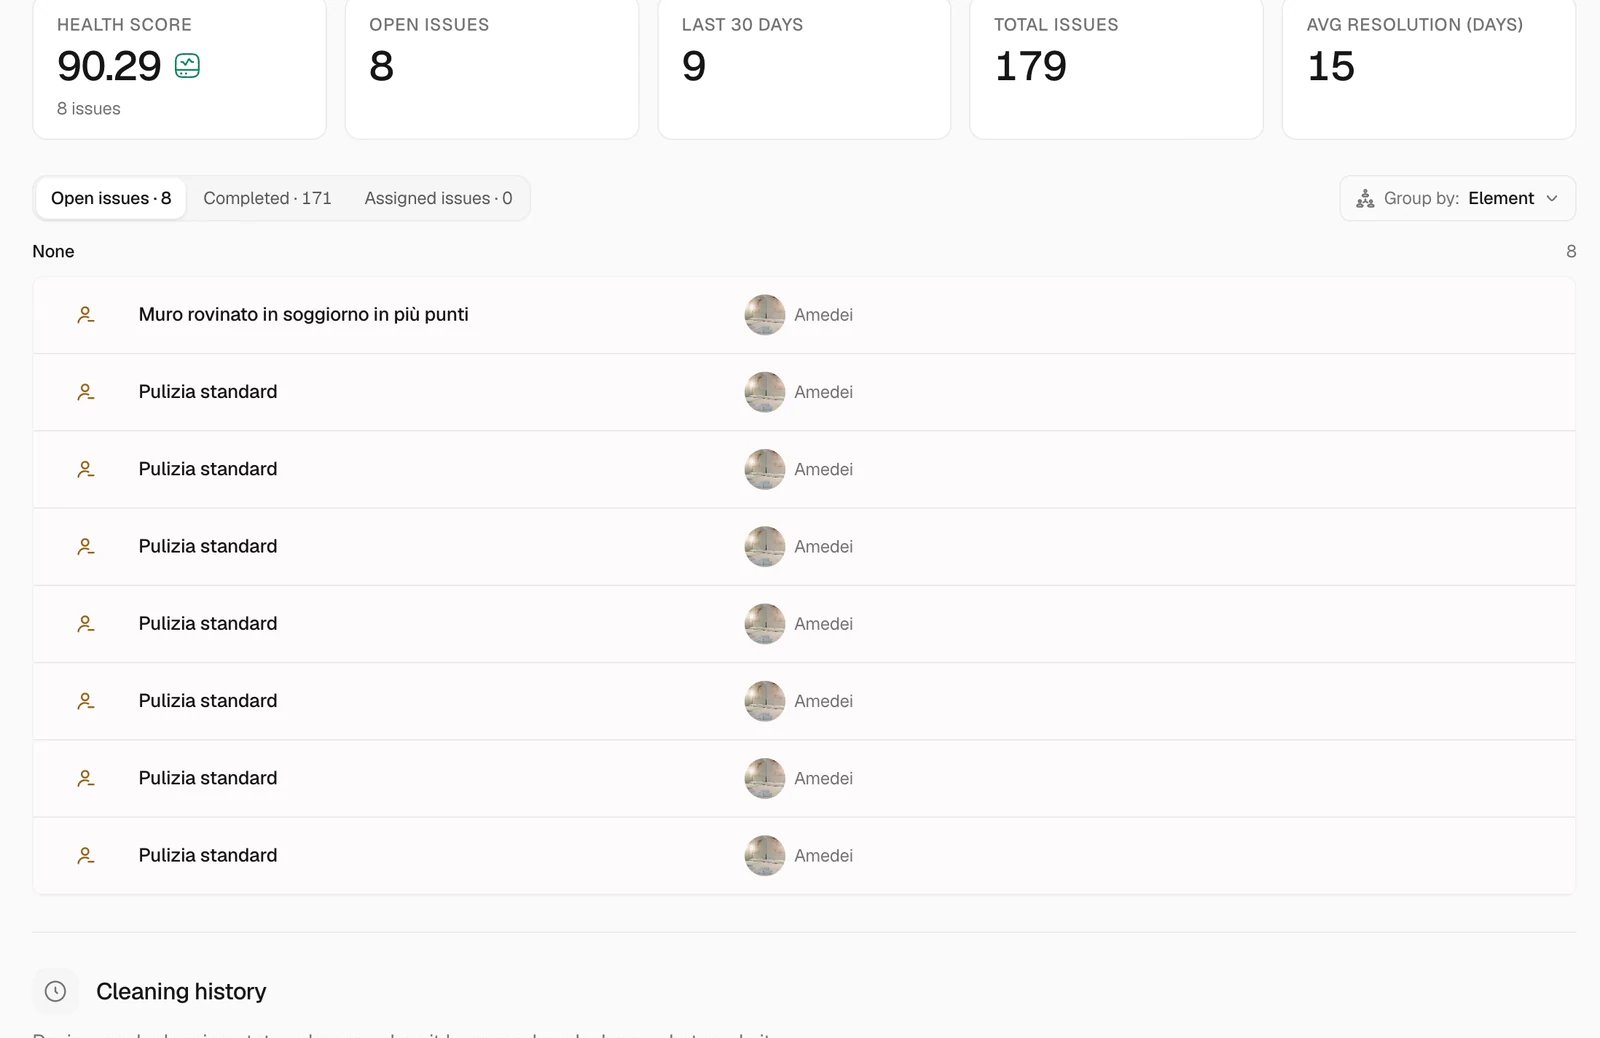
Review devices and property health
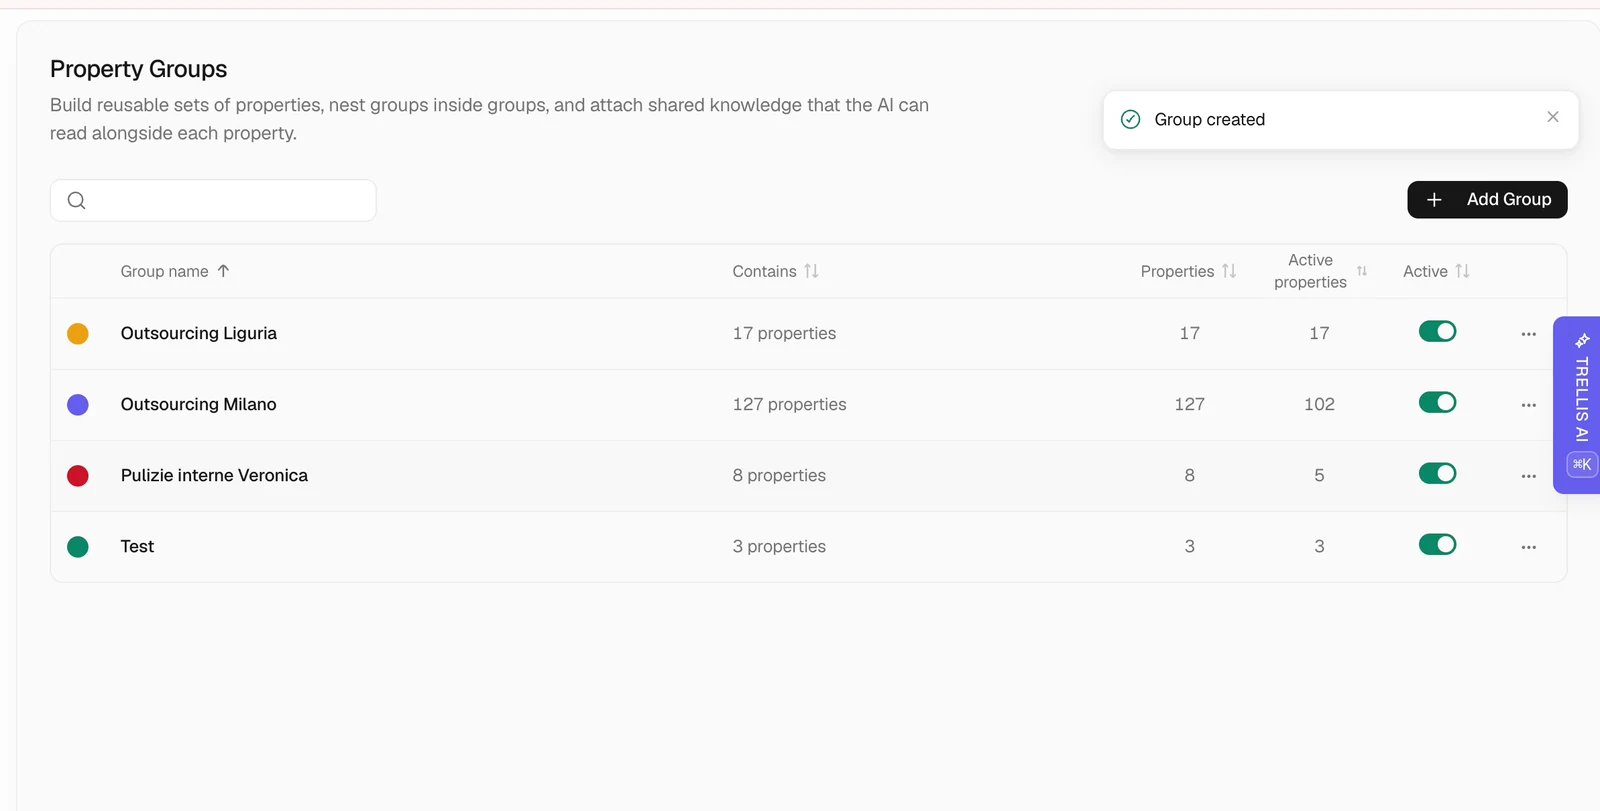
Organize property groups
Share a house manual
Use House Manuals to select which property fields an audience should see. A guest manual can contain arrival guidance and appliance instructions, while a maintenance manual can include different operational details. Follow Create and share house manuals to build the shared structure and review property-specific overrides.Create a fixed QR code for guest guidance
Property-manager workspace admins can create a permanent QR code for each property. Use it on printed signs when guests need instructions that may change over time, such as how to collect a building fob before using an elevator.1
Open the Mobile manual
Open a property, then select Mobile manual.
2
Add public guidance
Enter the instructions guests should see. You can also add a public instructional video link.
3
Save and download the code
Select Save changes, then download the QR code or copy its guest link for your sign.
4
Check the guest page
Open the copied link and confirm the property, guidance, video, and support contact appear as
expected before printing.
Create property details from a video tour
Attach a house-tour video in an agent chat and ask the agent to create a property from it. You can also ask it to update a property you already have. Tell the agent which property to use and which details you want saved. The agent can inspect selected frames and transcribe narration to identify rooms, write a listing title and description, record individual amenities, and save selected frames as photos. A photo selected for the property gallery can also be associated with its room; it appears in both places. Other room attachments are not automatically added to the gallery. Review the saved title, description, rooms, amenities, and gallery before using the listing. Sampled frames may miss spaces or equipment. Supply details the tour does not establish, such as the address, floor area, price, or guest capacity. Saving these details in Trellis does not publish a listing to a connected PMS; publishing remains a separate action.Keep connected systems aligned
If a field changes back after an edit, check which connected system owns it and correct that source. Review the integration’s property mapping when information belongs to the wrong home. Correct the mapping instead of creating a duplicate property.Common problems
A property is missing
A property is missing
Clear filters and check your property access. If it should arrive from a PMS, confirm the listing is active there and review the integration’s refresh and mapping controls.
A detail keeps changing back
A detail keeps changing back
Check whether the PMS supplies it. Update the source or use a supported Trellis edit flow for that integration.
A teammate cannot see a property
A teammate cannot see a property
Review the teammate’s role and property-group scope in Settings > Team & Permissions.
A template checklist is missing steps for this property
A template checklist is missing steps for this property
Open Rooms & Elements. Check that the required room exists and that the relevant element is present and Active. Then review a new task created from the template.
A template checklist has steps that should not appear
A template checklist has steps that should not appear
Check for an element marked Active that the property does not have. Correct its status so future tasks omit the linked steps; review already-created tasks separately.
Related articles
- Create and share house manuals.
- Tasks — templates, scheduling, and completion.
- Guest portal — registration and access timing.
- Integrations — keep property mappings and source data aligned.
- Owner Portal — share reviewed updates with property owners.