
Before you connect
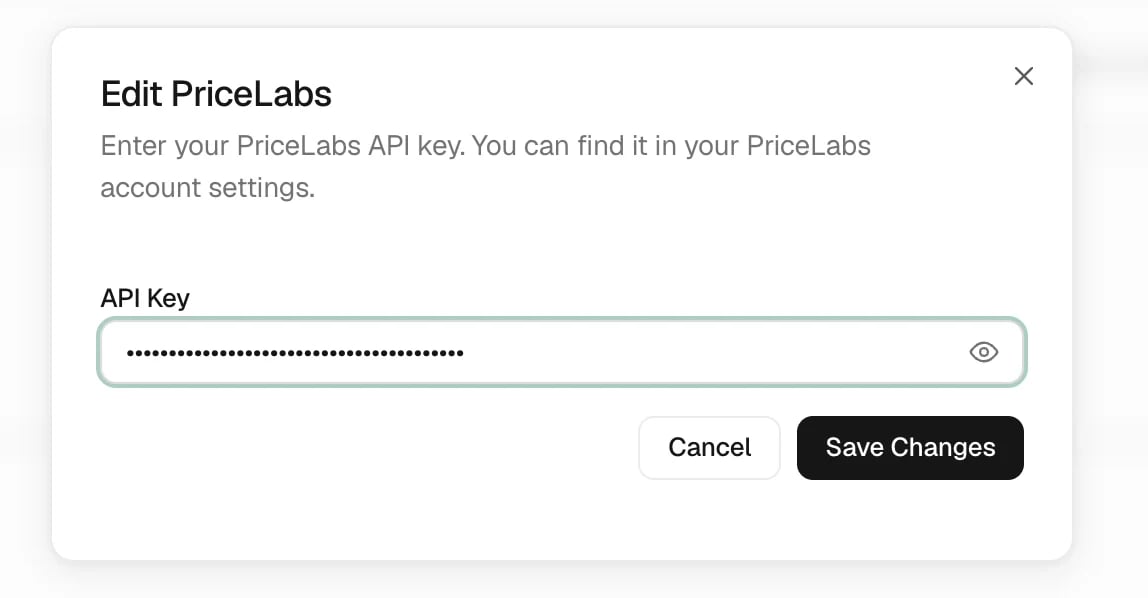
Use a Trellis account with integration-management access and an authorized account in the external system. Identify the correct company account and decide where each type of data should be maintained. Enter credentials through the connection screen and keep them out of screenshots and shared messages.Connect an integration
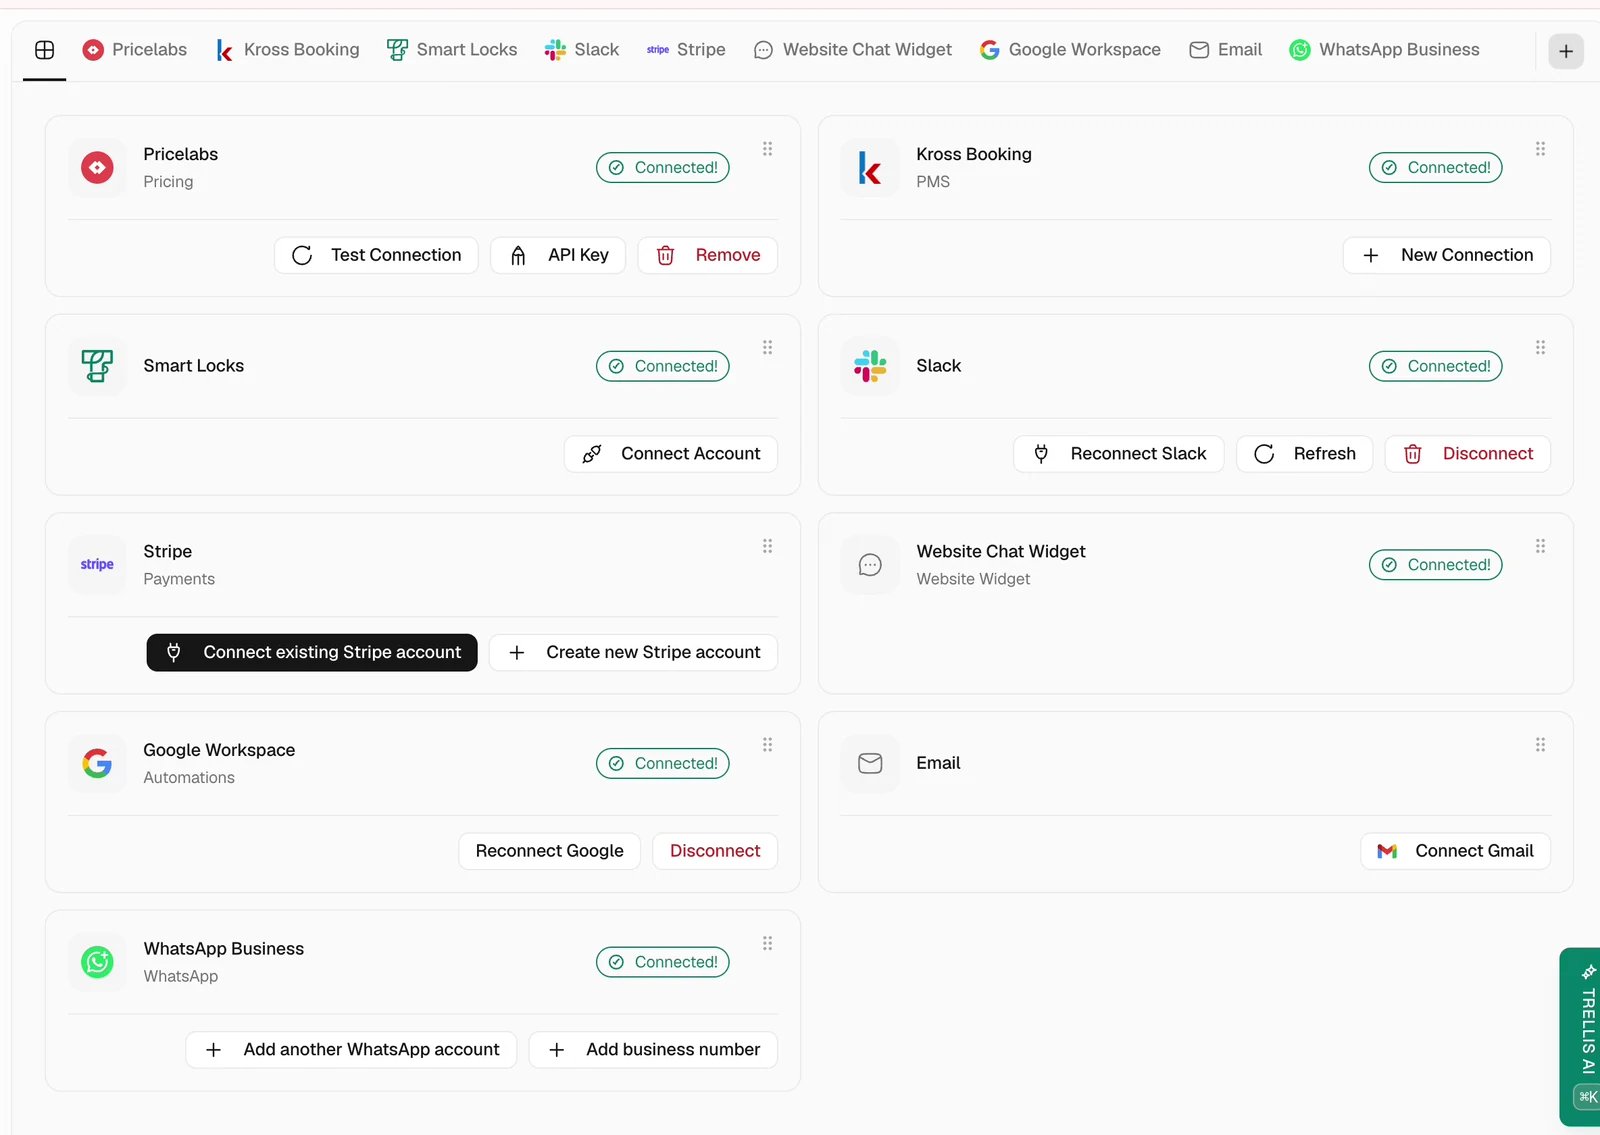
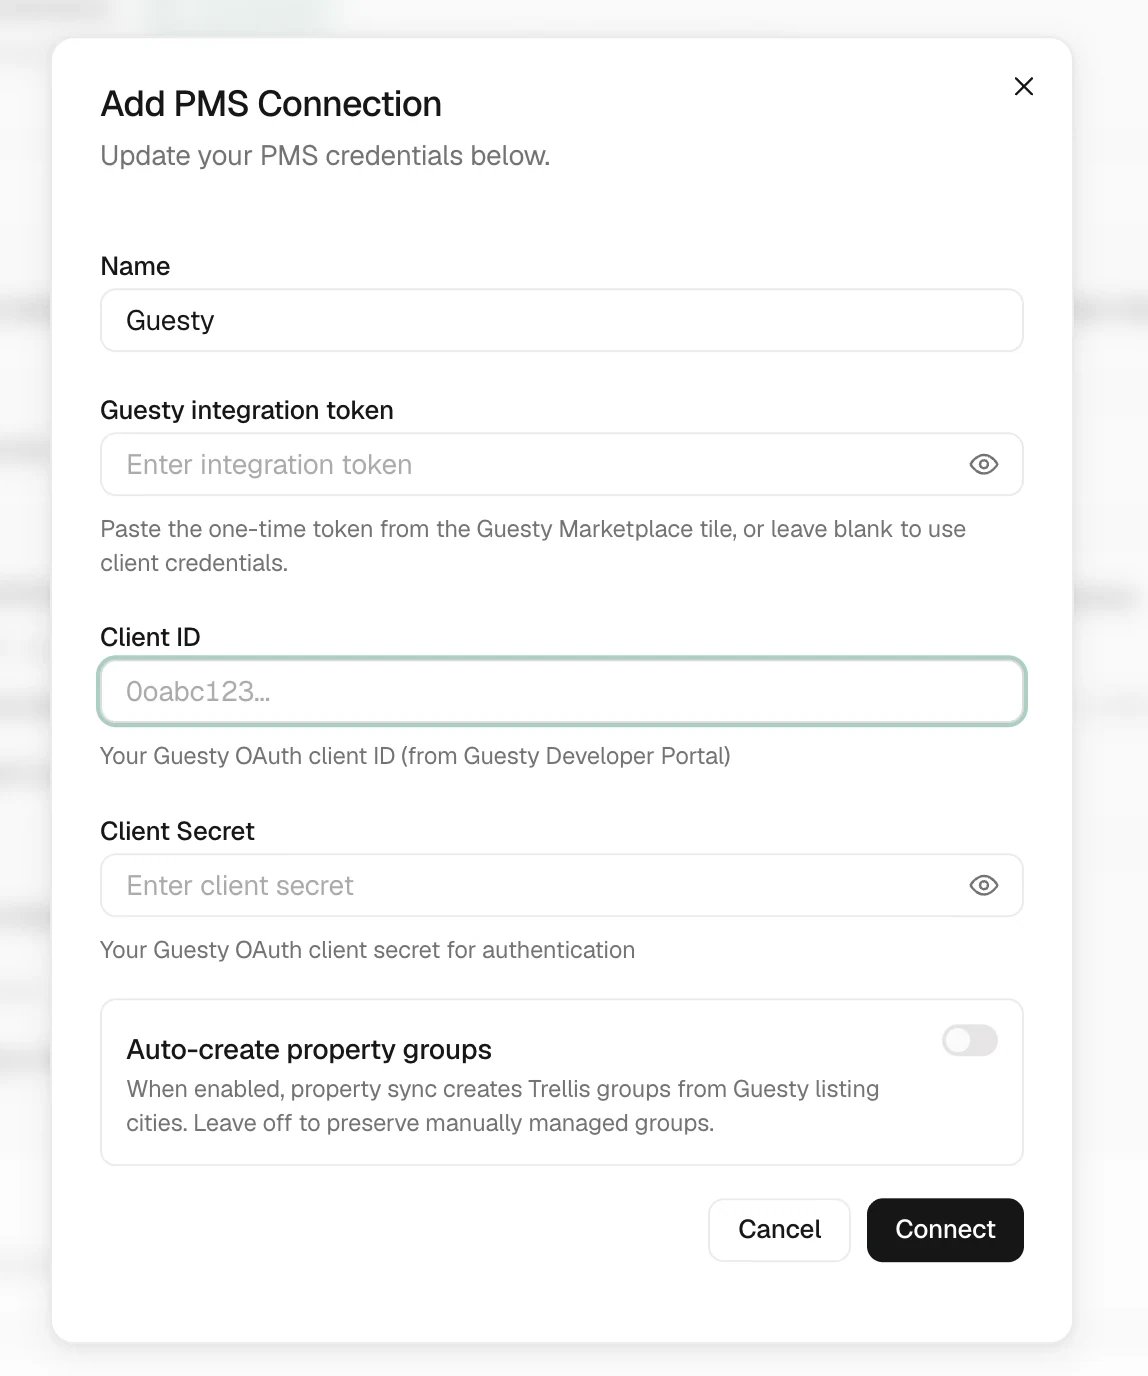
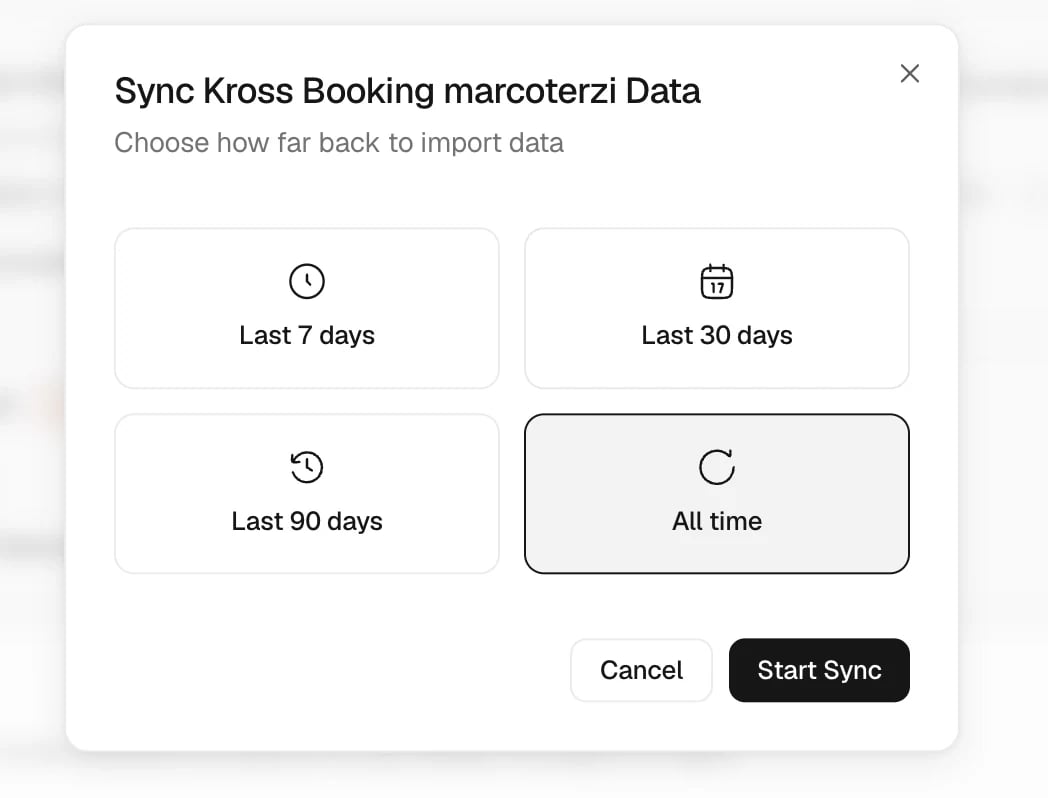
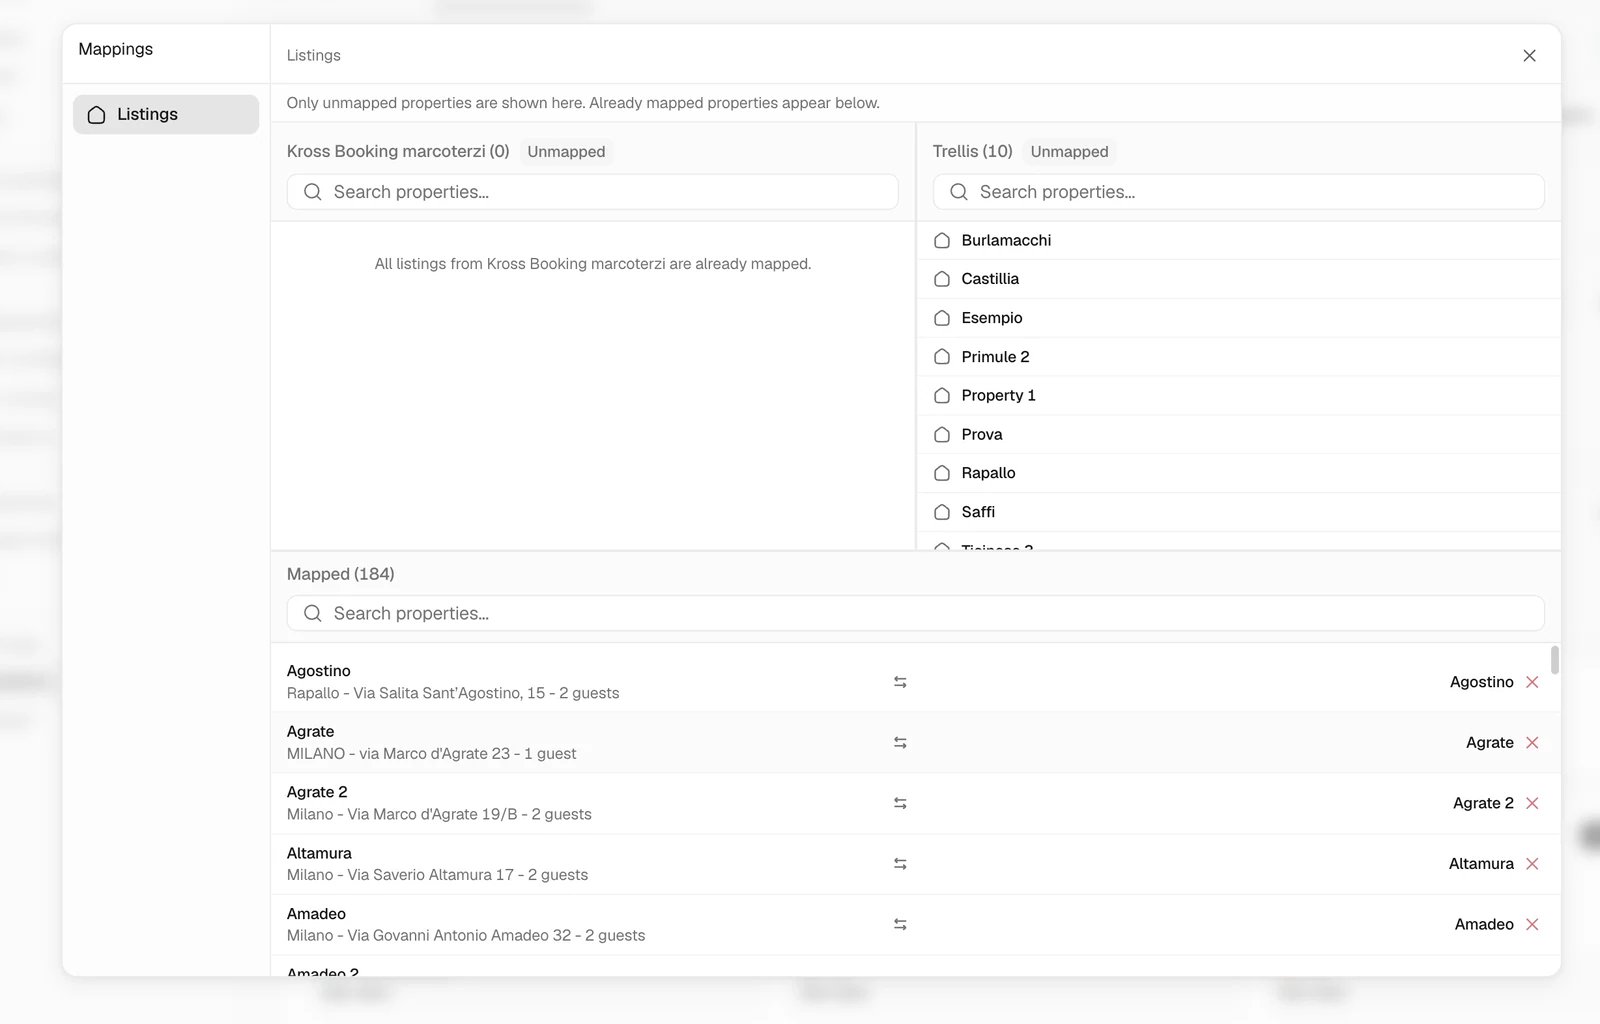
Connect other tools
Direct Airbnb connection
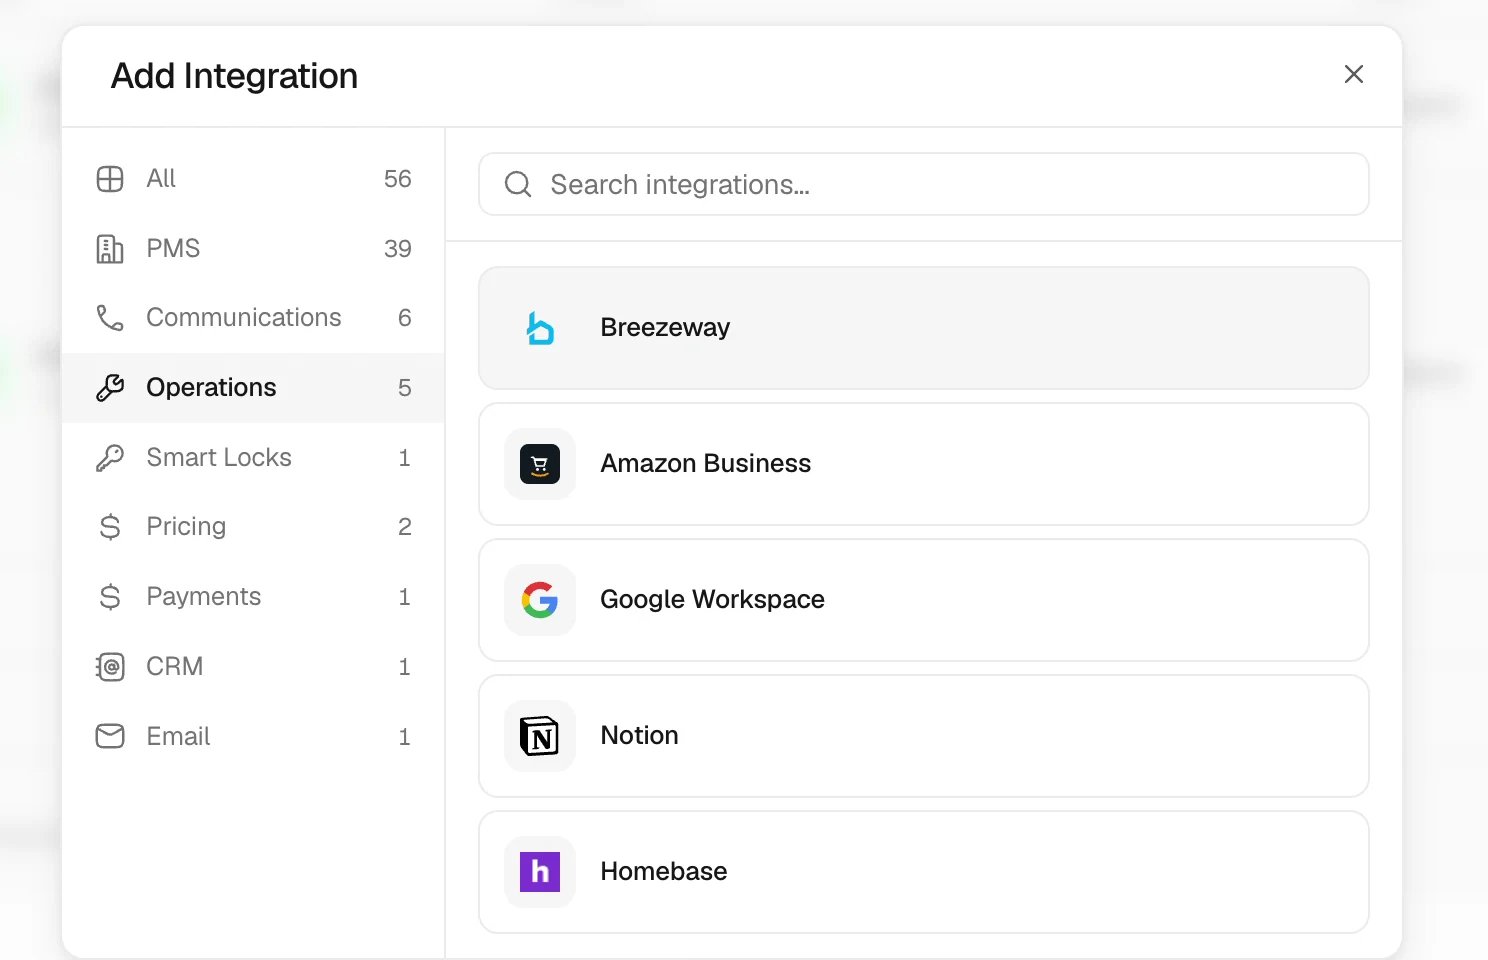
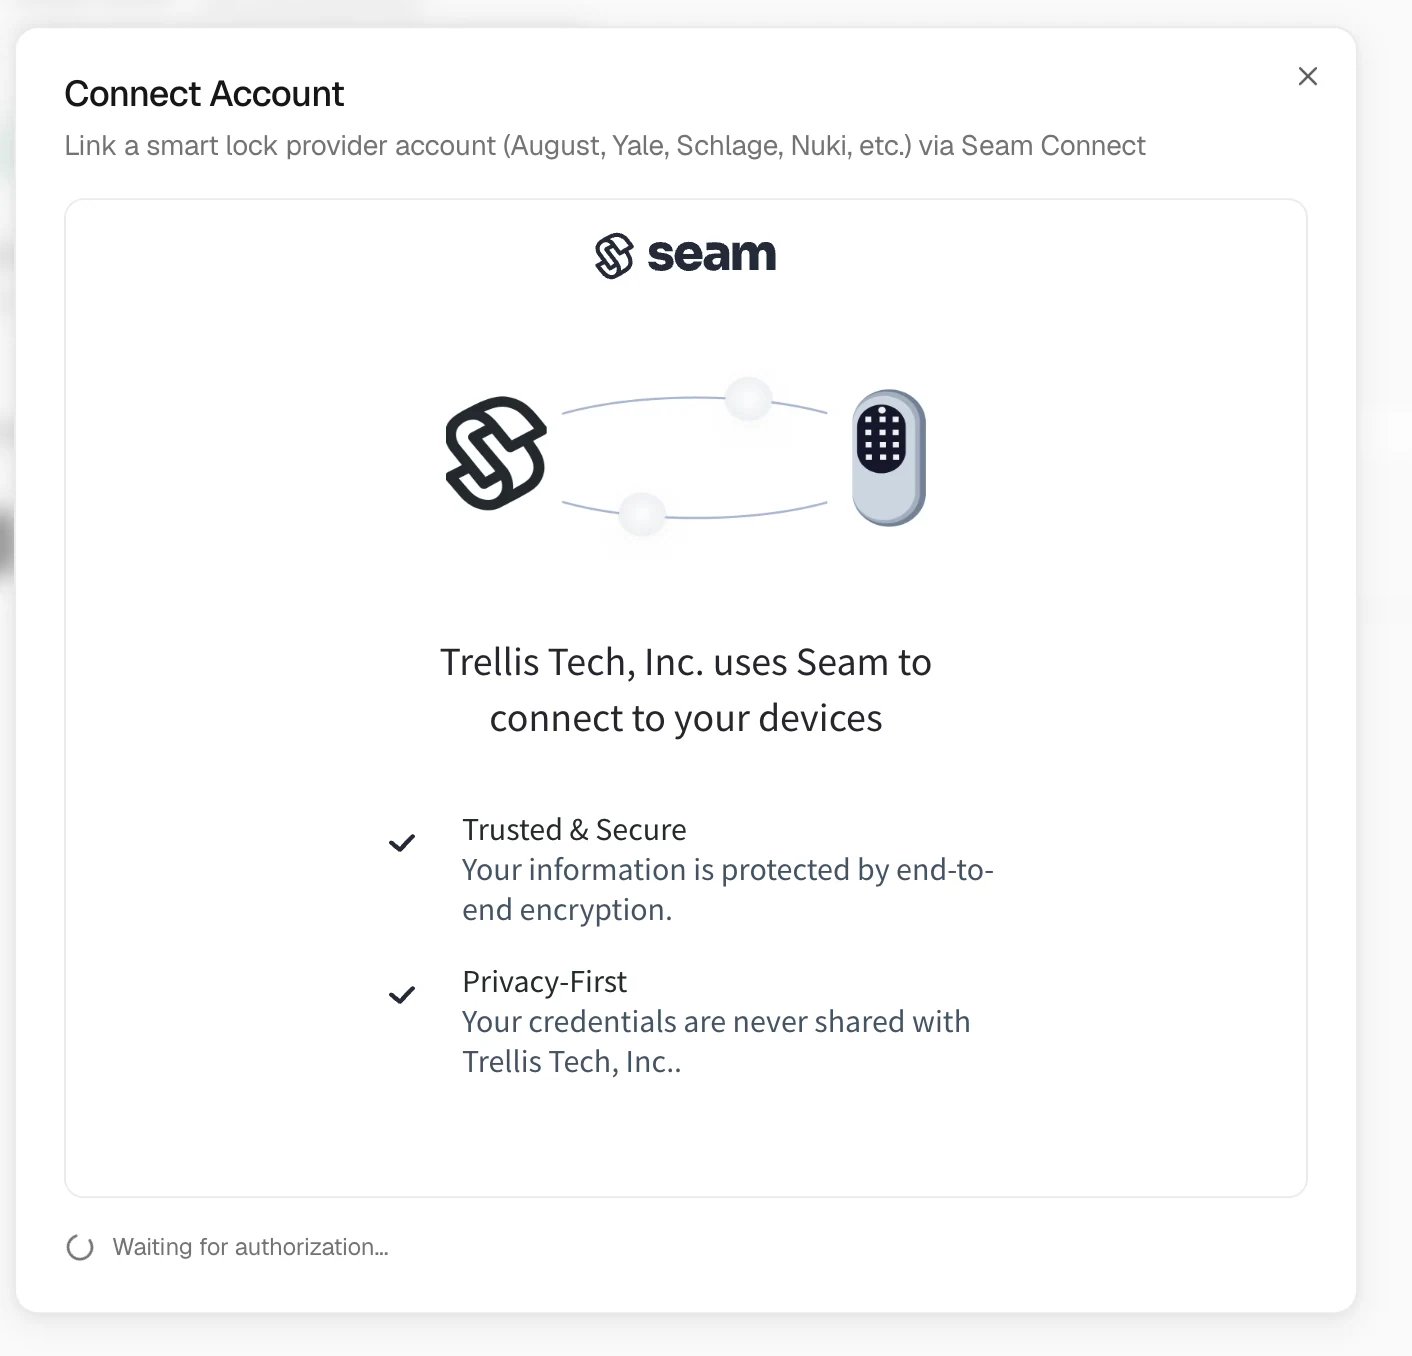
Direct Airbnb connections are currently available only in workspaces enabled for the pilot. Contact your Trellis administrator to enable a test workspace. Open Settings > Integrations, add Airbnb, then select Connect Airbnb account. An administrator can authorize a host on Airbnb and use View listings after returning to Trellis. Review the permissions and any service fee changes shown by Airbnb before authorizing. Existing connections may need to reconnect to grant messaging permissions. For each owned listing, choose an existing property or import a new one. Trellis prevents replacing another PMS connection. Imports start with writes disabled. Select Allow Trellis to update this listing on Airbnb only when Trellis should manage the listing; the setting becomes active after Airbnb confirms the connection. Choose a date range and select Synchronize to import reservations, listing details, calendar and pricing information, and conversation history. Historical messages do not trigger automatic replies. New messages appear in Inbox, where you can send text replies. Sending attachments is not supported by this connection yet. The operations panel keeps uncertain and failed operations first and lets you browse older results. Retry a failed operation after correcting its cause. When a write has an unknown outcome, use Verify on Airbnb: repeating an uncertain request can duplicate a change. If verification cannot confirm the requested change, inspect the current state on Airbnb and use Close without resending, confirm your review and record a reason. Closing preserves the audit history and does not undo a change on Airbnb. Trellis refreshes the affected information before allowing more writes or availability checks. A provider suspension disables updates even if an earlier enable request is still finishing. After Airbnb restores the listing, explicitly enable updates again. Disconnecting revokes the host authorization and stops future synchronization. This integration is being validated for Airbnb partner access. Live use requires an approved app, registered HTTPS callbacks, an authorized host, and completed Airbnb sandbox testing and certification. Multi-unit inventory and advanced channel features are not supported yet.Website chat widget position
Open Connections → Website Concierge Widget. Under Position, choose Bottom left or Bottom right, then save. The choice applies to both the chat button and window. Reload your website to see it; you do not need to change the WordPress embed code. Existing widgets stay on the right until you change this setting.Website chat handoffs and estimates
When the website concierge passes a conversation to your team, automatic replies pause and an escalation is created for review. Escalation alerts use your configured notification channels. Incoming website messages also follow your Inbox notification preferences, including messages received while a teammate is handling the conversation. The concierge offers only active properties. It checks exact property names first. If a partial name matches multiple properties, it asks you to clarify before quoting. For Guesty-connected properties, stay estimates use synchronized nightly rates plus the cleaning fee, and exclude taxes and other booking fees. The calendar must cover every night and the departure date, with arrival, departure and minimum-stay restrictions satisfied. Estimates do not hold dates or confirm a booking. If calendar data or rates are incomplete, the property has no supported Guesty calendar connection, or the dates are blocked, the concierge gives no price and offers team confirmation. It does not substitute a property’s default nightly price. For an end-to-end Inbox test, use a visitor email that is not already assigned to a hidden internal contact type, such as Team.Verify imported records and updates
Open one expected imported record and compare it with its source: property, reservation, message, task, or transaction. Confirm its mapping and important values. Then use the provider’s documented refresh method to check a known recent change. Before testing a reply or update, read the provider’s supported send-back actions and use an appropriate test record. Inspect the result in the receiving system. If the outcome is unknown, check the existing attempt before sending it again.Common problems
The connection test fails
The connection test fails
Check the account, active authorization or key, and the permissions required by that provider. Read the displayed error before replacing the connection.
Data is missing after connecting
Data is missing after connecting
Confirm the source record exists, the sync range includes it, and the property mapping is correct. Run the available refresh and inspect its status.
Replies are not sending
Replies are not sending
Confirm the original channel supports replies through this integration and check its connection and delivery status.
A teammate cannot manage integrations
A teammate cannot manage integrations
Ask an administrator to review that role’s integration permissions in Settings > Team & Permissions.
Available integration guides
- PMS: Guesty, Hostaway, Krossbooking, Hospitable, and Calry.
- Operations and access: Breezeway, RemoteLock, and Nuki.
- Spend: Ramp.
- Channels: Email, WhatsApp, Phone and SMS, and Slack.
Related articles
- Connected accounts — website logins for agents.
- Quickstart — test the first property and conversation.
- Troubleshooting.