
Main areas
- Settings → General: workspace name, regional defaults, business details, and operational preferences.
- Settings → Billing: subscription, billable properties, invoices, and payment details.
- Your profile picture → Account: your language, appearance, calls, notifications, and password.
- Other Settings sections: team access, integrations, routing, and phone numbers.
Set up your workspace
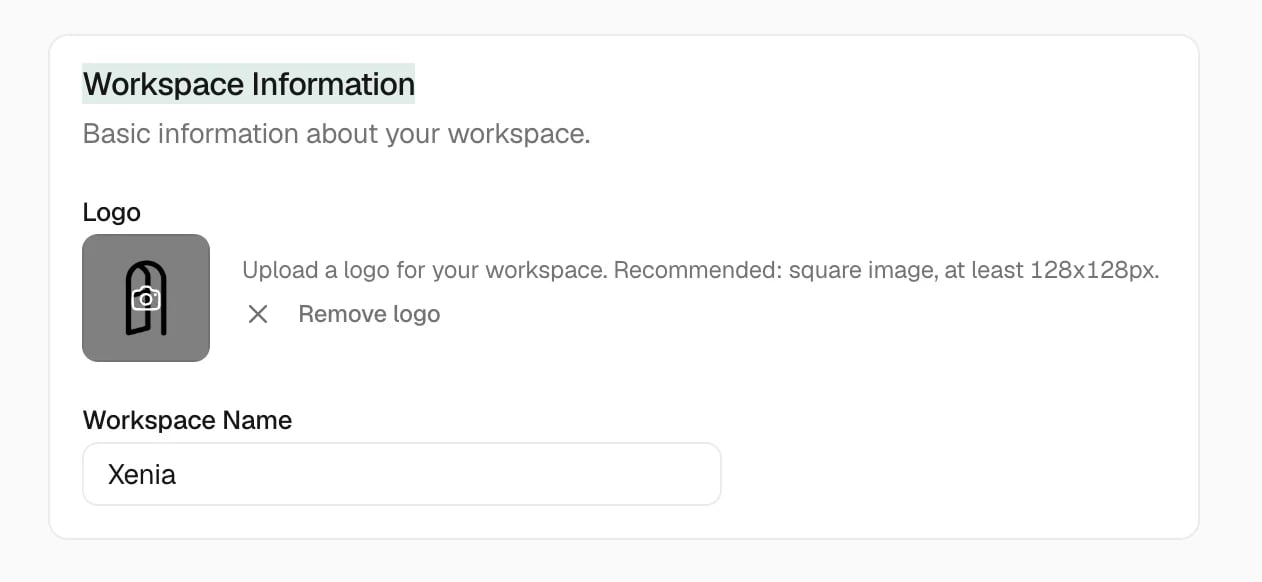
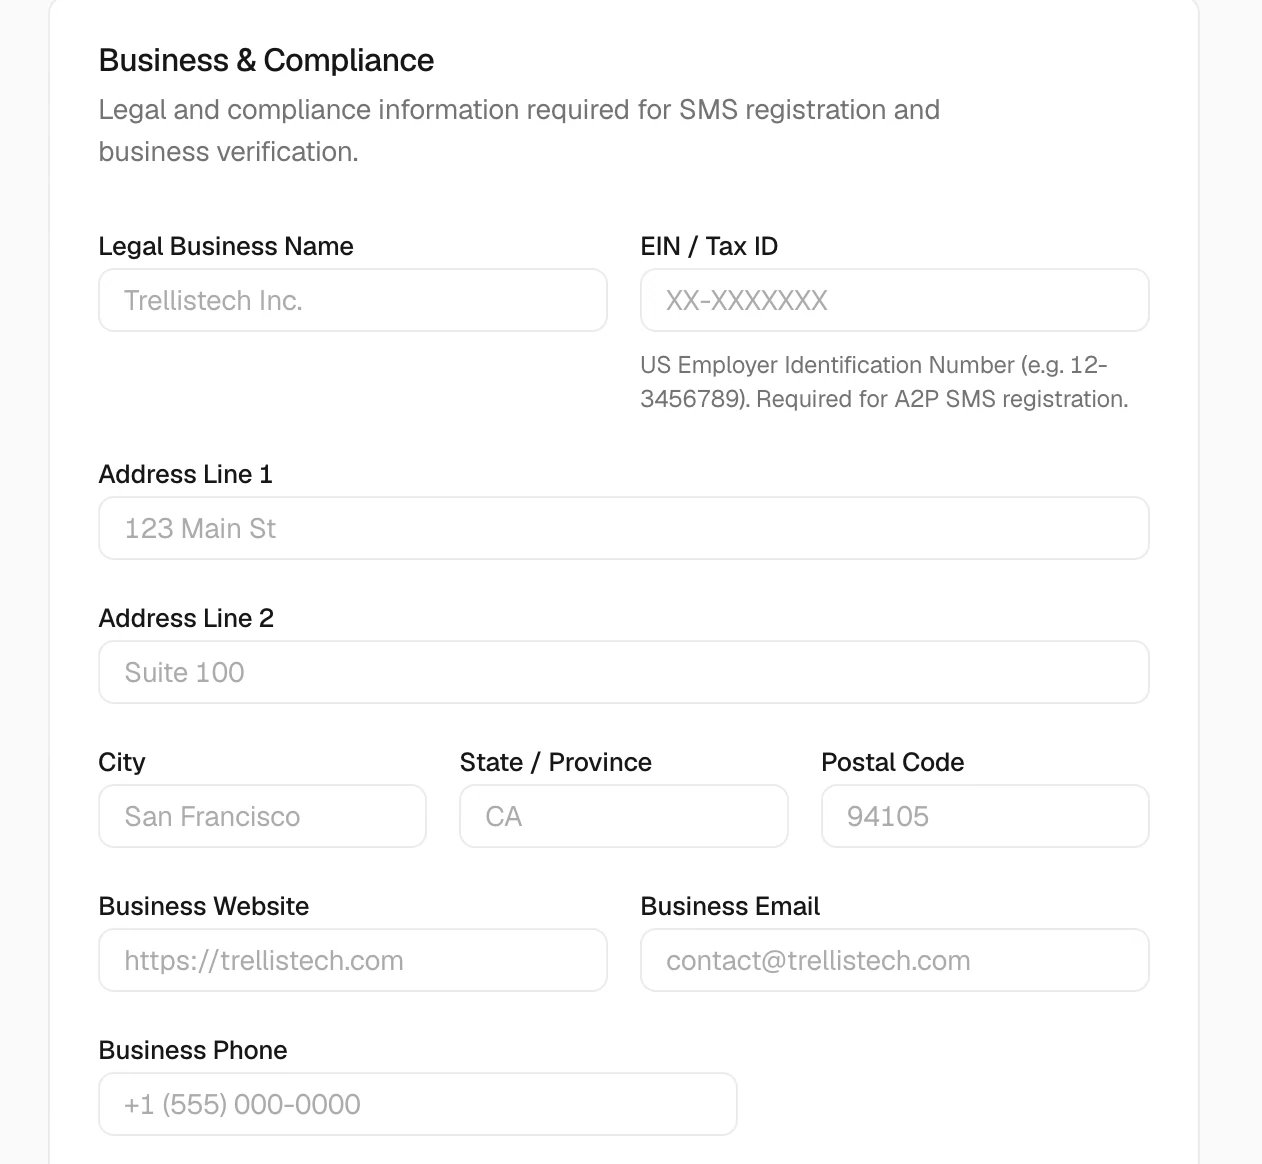
Open Settings → General. Use Save changes, below Business & Compliance, to save the form. Your display language, logo, and the controls under Utilities save separately as you change them.Workspace name and logo
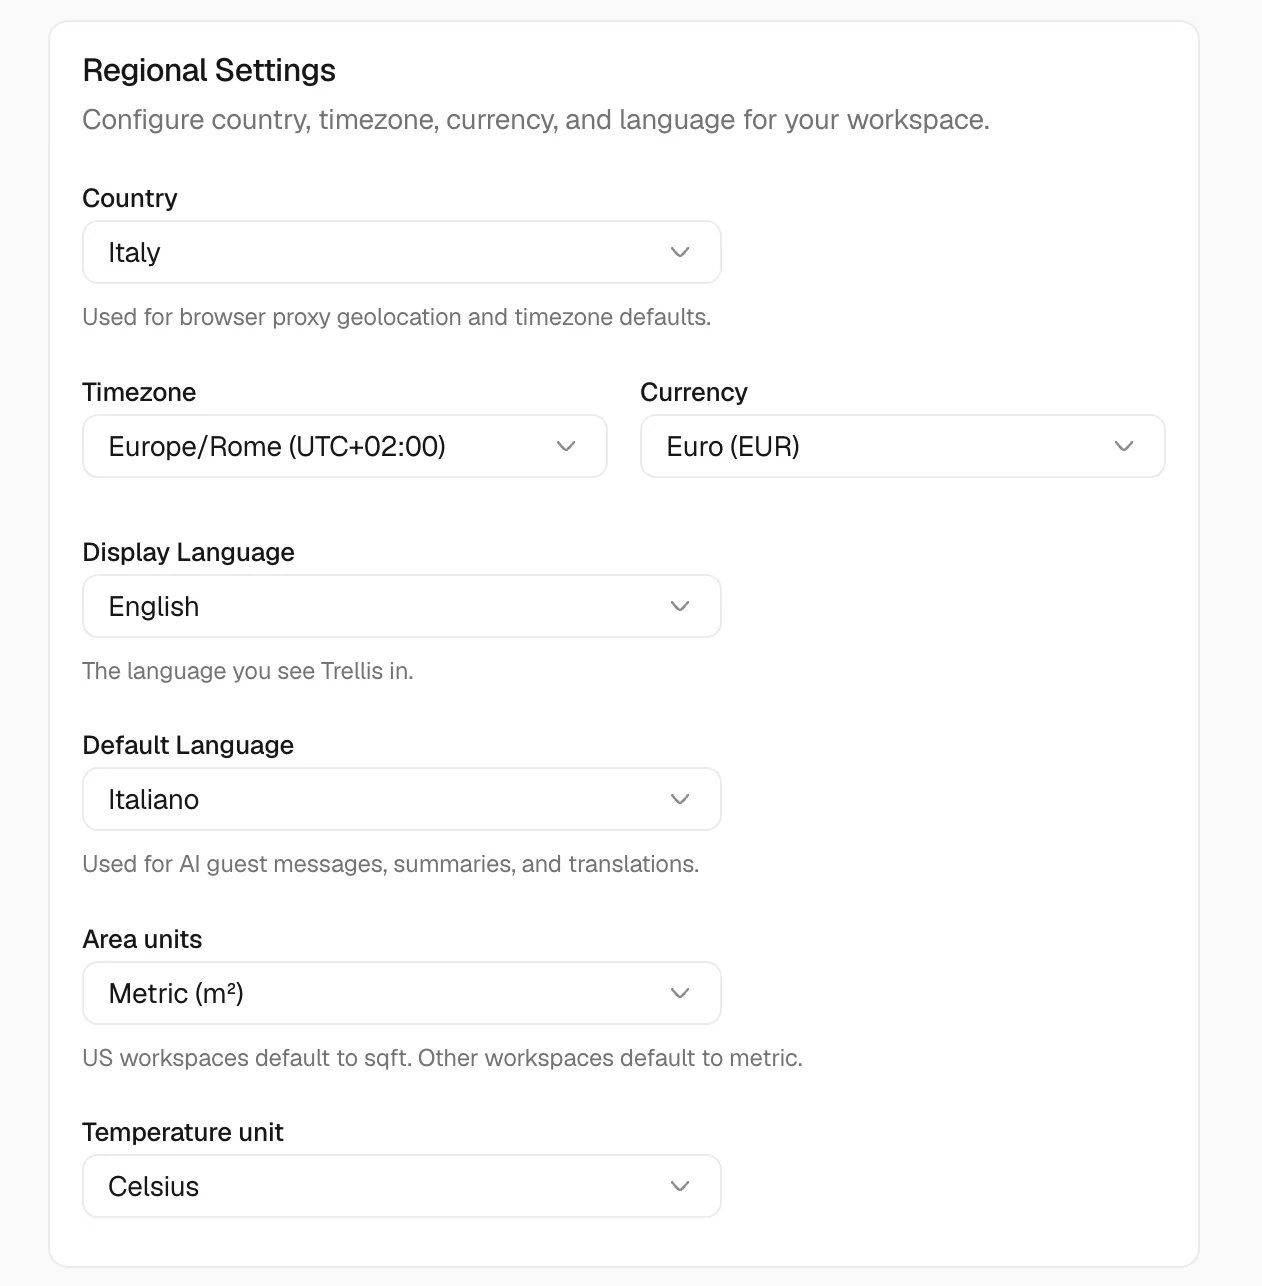
Country, time zone, and language
Business details
Operational preferences
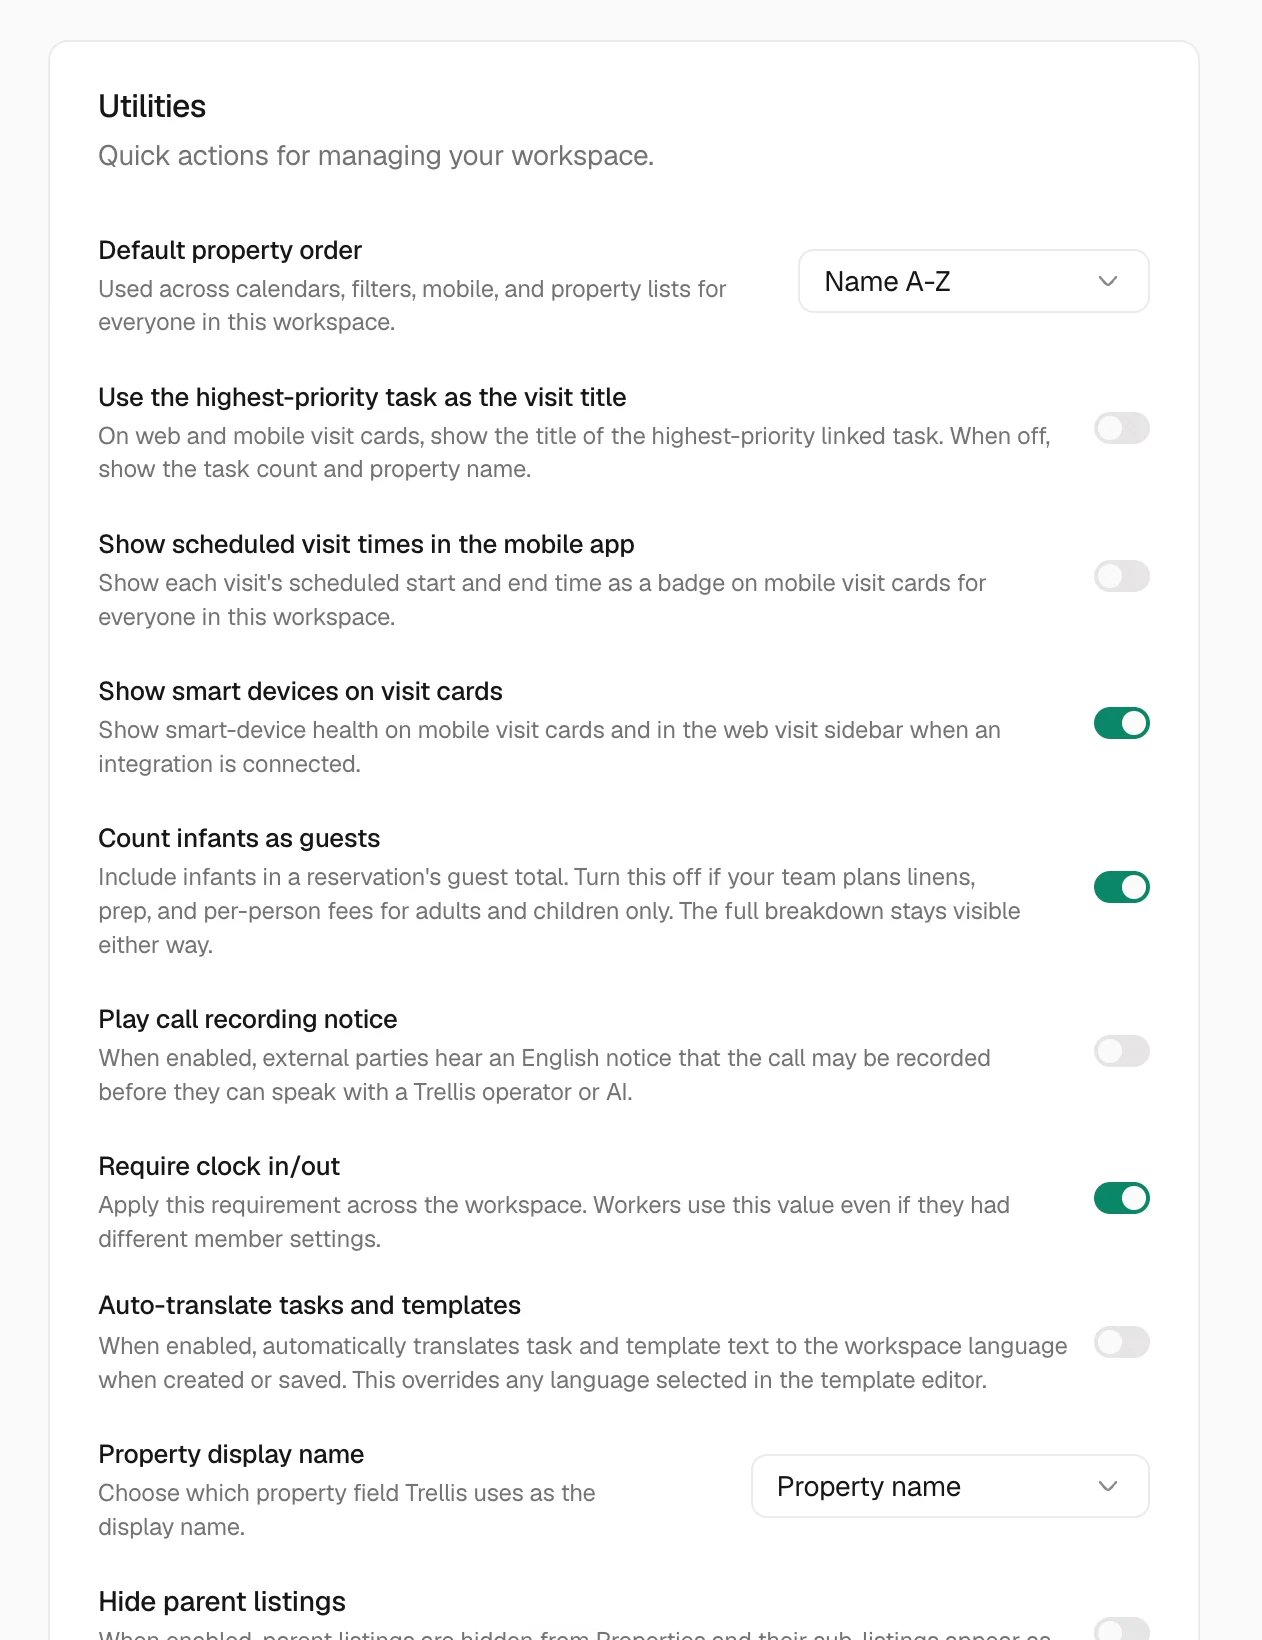
Count infants as guests
In Utilities, leave Count infants as guests on to include infants in a reservation’s guest total. Turn it off if your team plans linens, preparation, or per-person fees using adults and children only. The full guest breakdown remains visible either way.Manage billing
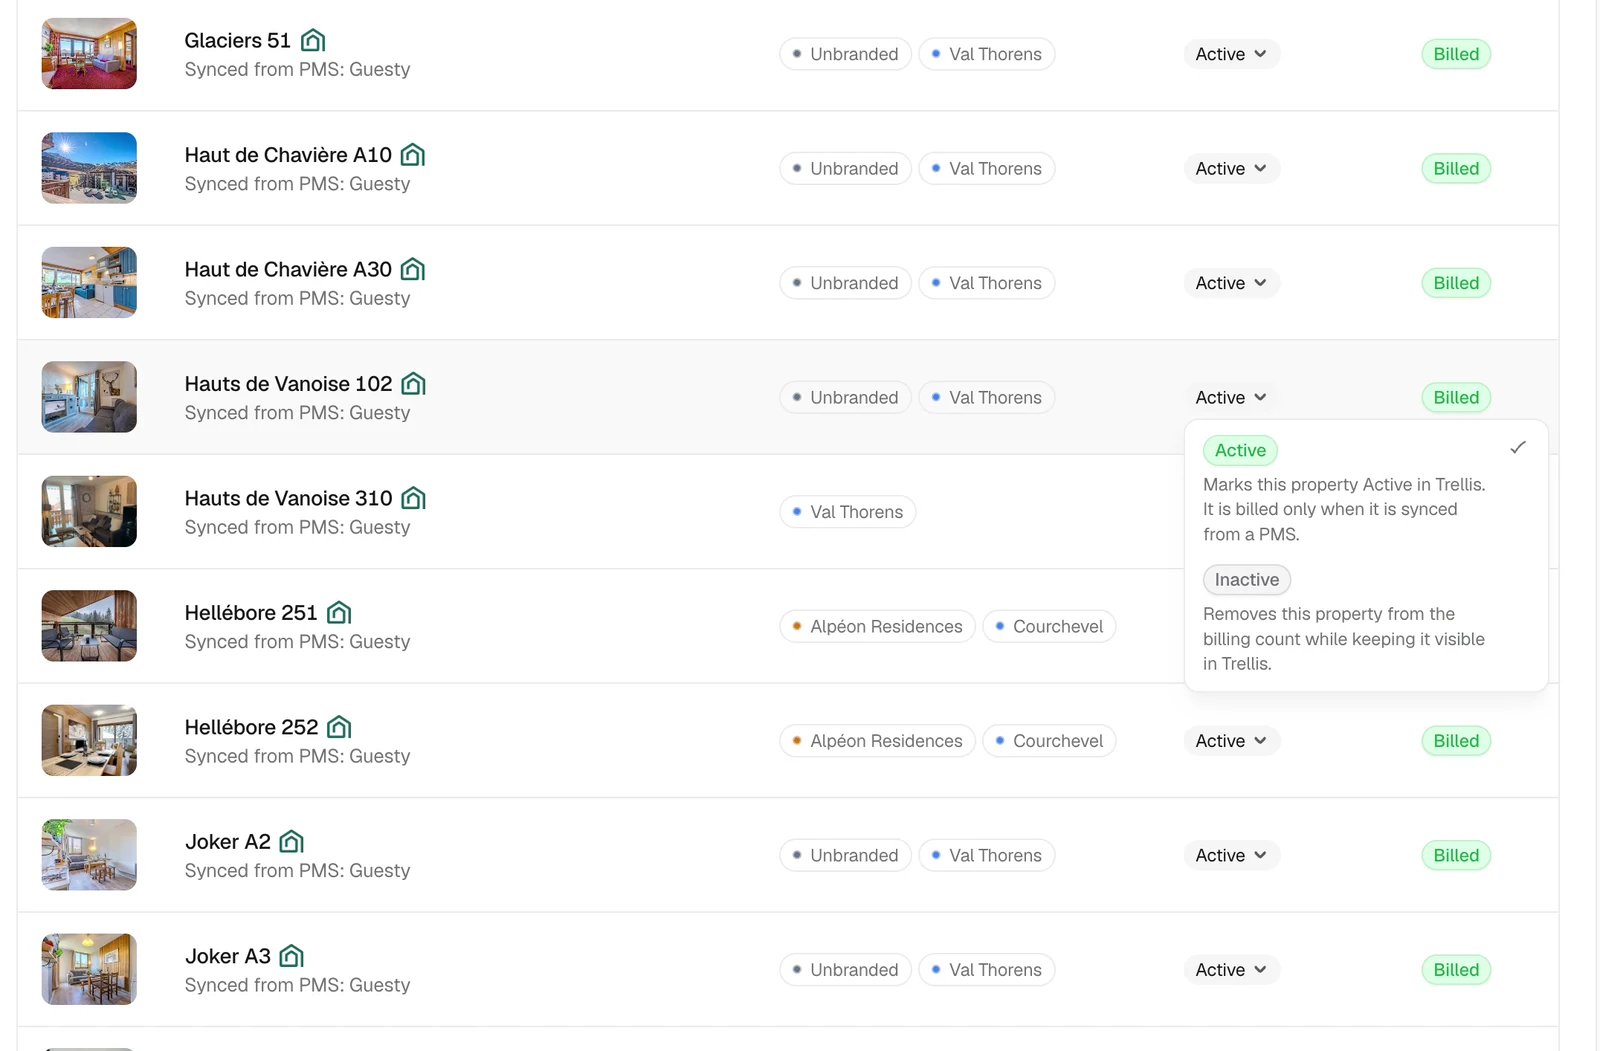
Resolve a past-due payment
If a payment fails, the billing banner shows the deadline for resolving it. Select Manage Billing to update the payment method or complete the payment. Your workspace stays available during the seven-day grace period. After the deadline, most workspace access is paused until the subscription is active again; the billing recovery page remains available. Trellis refreshes workspace access automatically after a canceled subscription is successfully restarted.Adjust your account
Click your profile picture at the bottom of the sidebar to open Account. Use its General, Calls, Notifications, and Security tabs to change your own preferences.Language, appearance, and default workspace
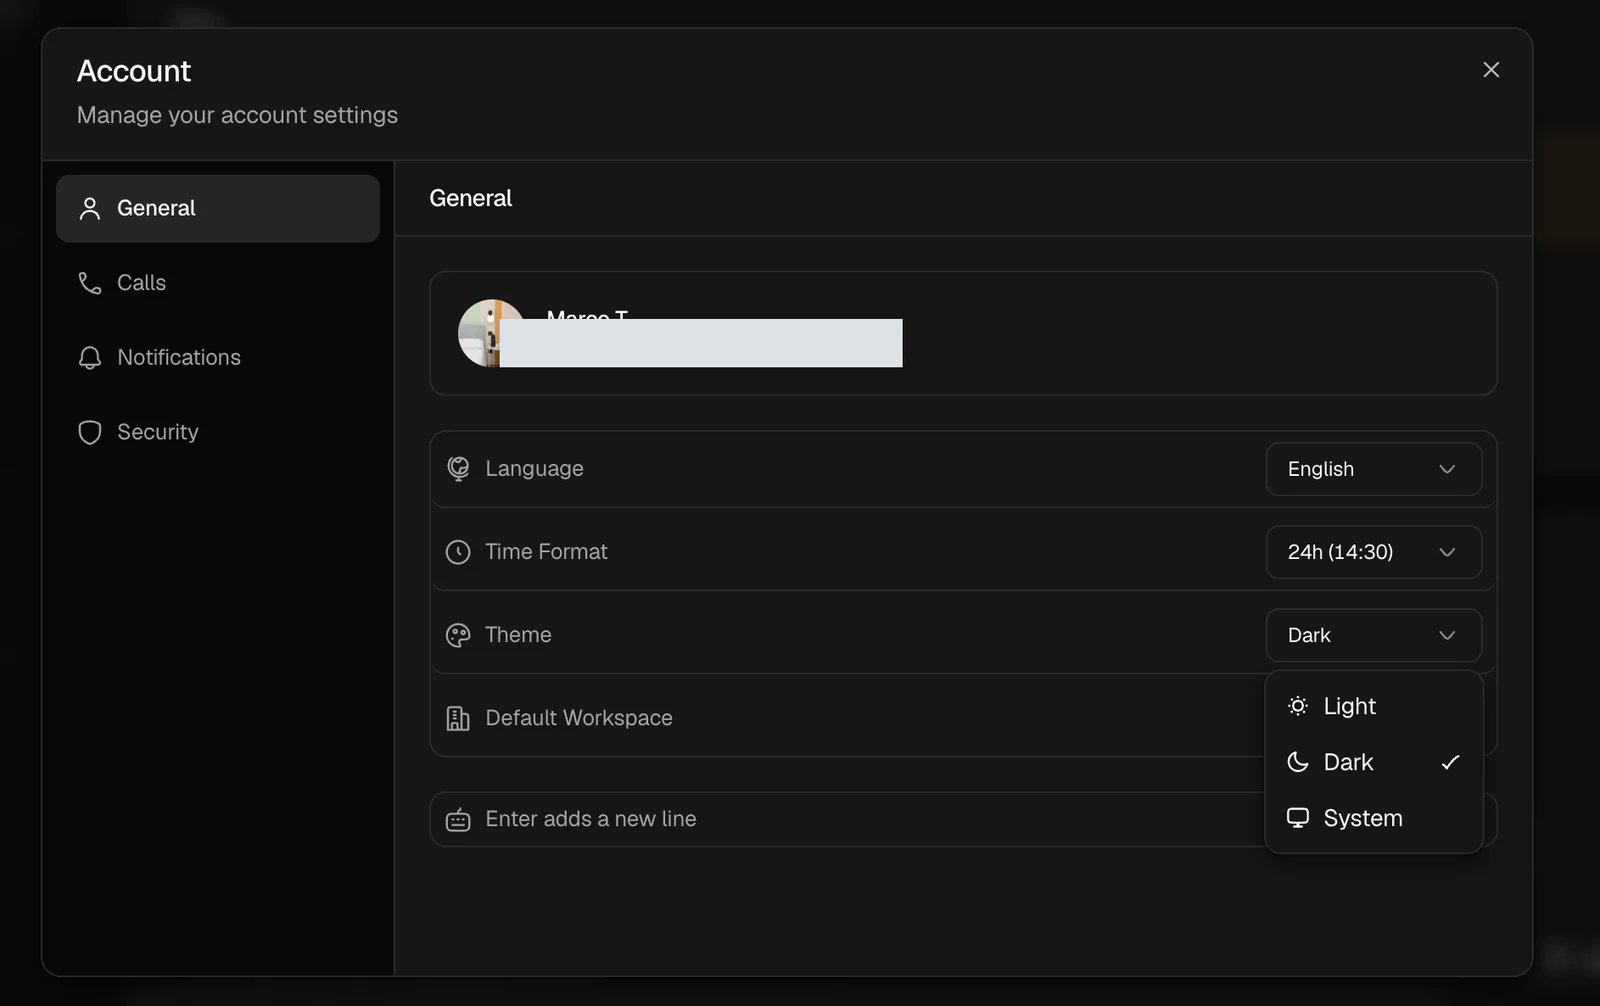
Choose what Enter does in messages
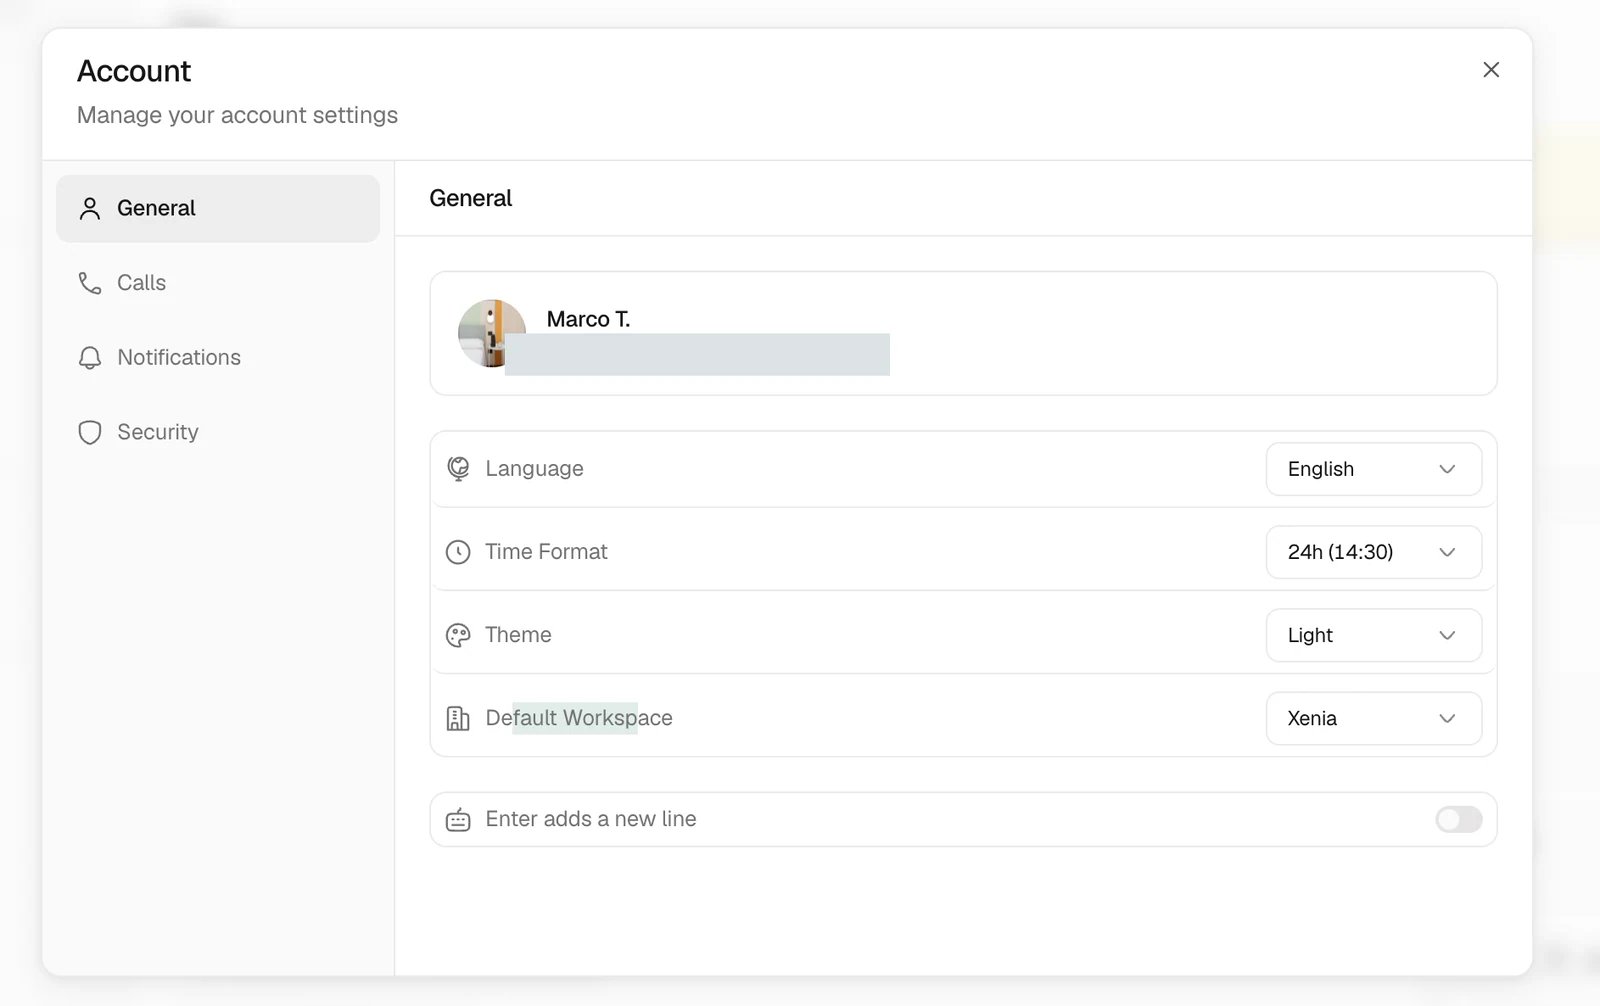
Incoming calls and Inbox sounds
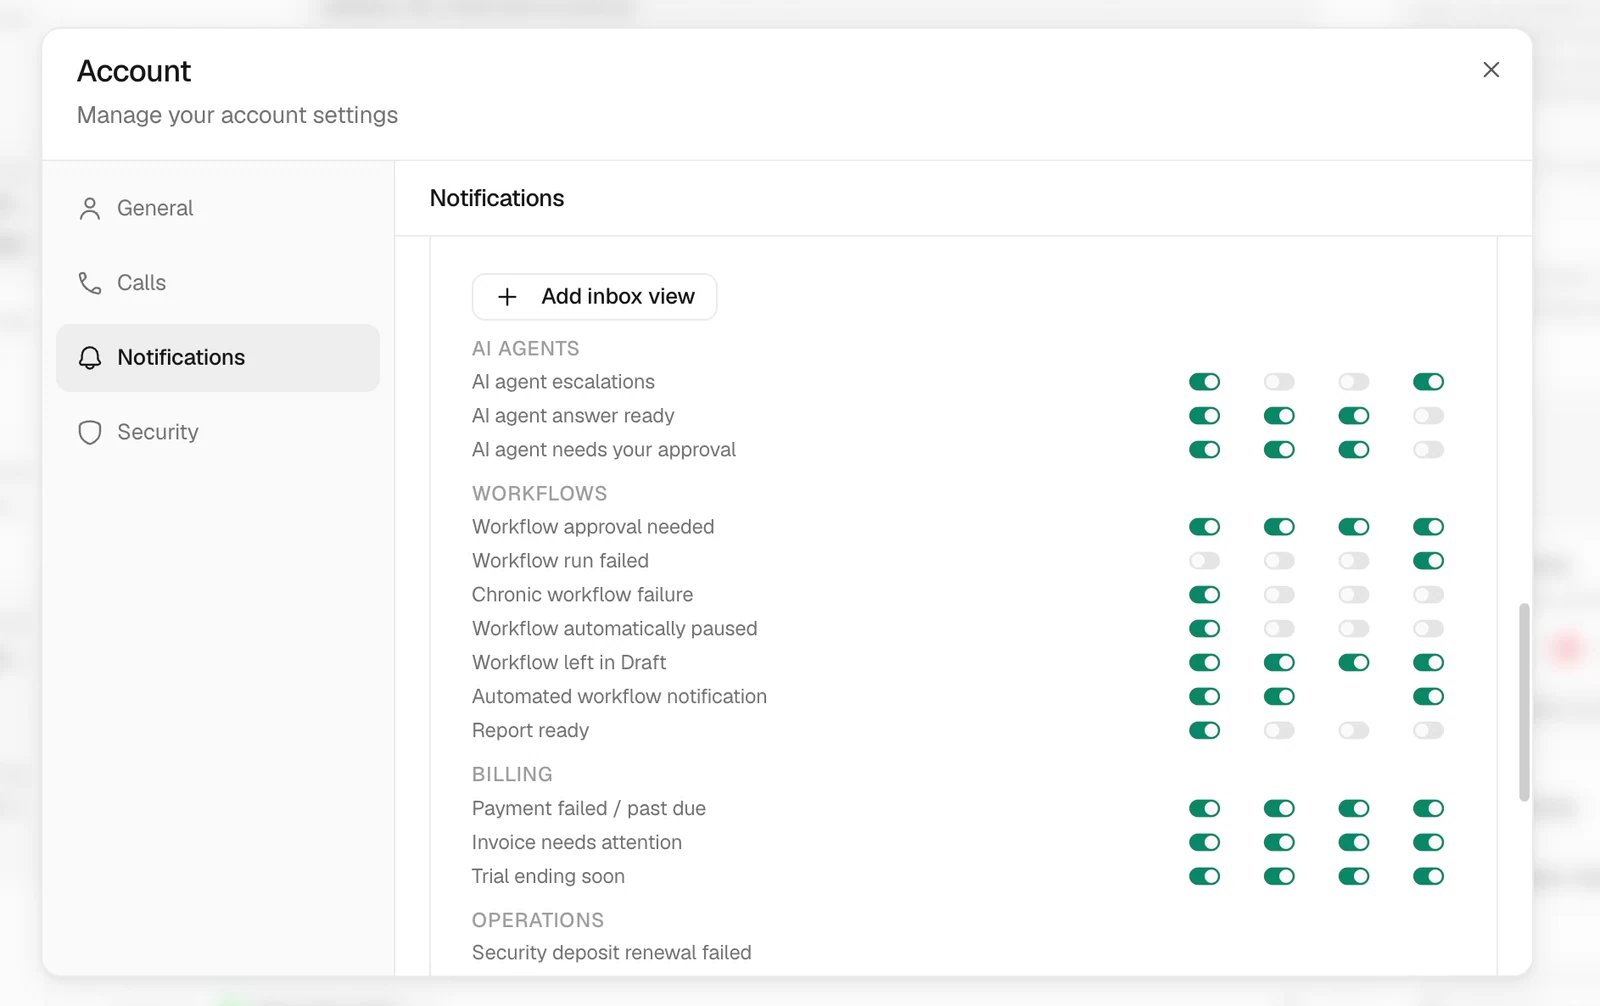
Notification channels
Choose browser notifications
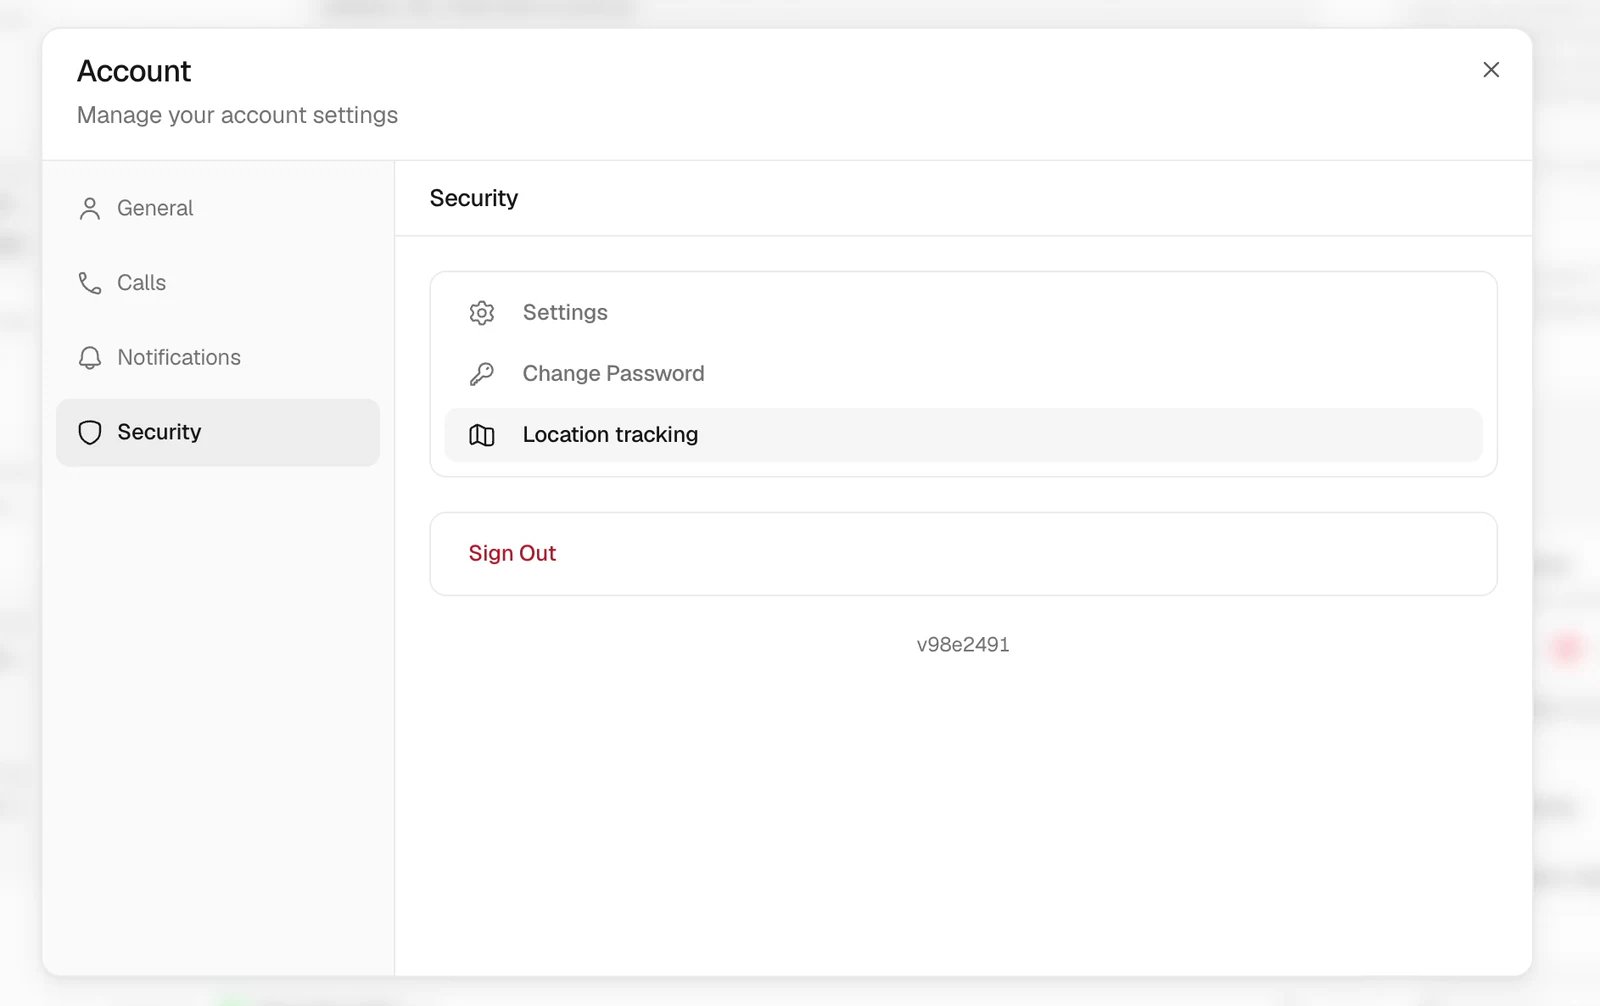
Open Settings → Notifications and turn on Browser notifications. Allow notifications when your browser asks, then confirm that Trellis shows This browser is subscribed. Use the Browser switches to choose which alerts this browser receives. If permission is blocked, enable notifications for Trellis in your browser’s site settings and try again. The Mobile app switches control mobile alerts separately.Password, location tracking, and sign out
More workspace settings
Update team access
Open Settings → Team & Permissions to manage members, roles, and departments. Choose a role for the work a person needs to do, then review their property and Inbox access. After saving a change, have the teammate refresh Trellis and confirm they can open their assigned work. Follow Choose roles and property access for the complete setup, or Troubleshoot access and visibility if a teammate cannot see something they need.Route new contacts
Use Settings → Inbox routing to assign a contact type to new contacts from a receiving number, mailbox, or connection. Choose the channel, property, or sender conditions, then the contact type the rule should assign. The contact type determines which Inbox the contact belongs to. See Inbox routing for rule order and examples.Build a multi-level call flow
In Settings → Phone numbers, choose a number and open its call flow. Select a voice menu and use + next to Voice menus to add a connected menu at the next available keypad choice. Give the new menu a name and prompt, then choose a destination for each keypad option. Use Open menu when an option should lead to another menu; add a prompt for each language you offer. Review the paths before publishing. Trellis blocks missing menus and menu loops before the call flow is published.Connect an integration
Open Settings → Integrations, choose the provider, and follow its connection steps. Once connected, check the status and confirm that the expected data appears in Trellis. Use the integration guides for the credentials, supported data, and sync checks specific to your provider.Tags and developer access
Use the tag settings to maintain the labels your team uses to organize work. For API keys or an external AI client, follow API authentication or Connect an MCP client.Common problems
I cannot see a Settings section
I cannot see a Settings section
Your role may not allow access to that section. Ask an admin to review your
permissions. Your personal preferences are available from your profile picture.
My workspace changes disappeared
My workspace changes disappeared
Return to General and check whether you selected Save changes below
Business & Compliance. Wait for confirmation before leaving the page.
A teammate still cannot see a page
A teammate still cannot see a page
Check the role permission, property scope, and any section-specific access,
such as Inbox access. Use the access troubleshooting guide
to identify which restriction applies.
My phone rings but my browser does not, or the reverse
My phone rings but my browser does not, or the reverse
Check both incoming-call switches in Account → Calls. Browser notification
permissions and the alert-channel switches are separate from call preferences.
An integration is not syncing
An integration is not syncing
Open its detail page and check connection status, credentials, and provider
permissions. Follow the troubleshooting steps in its integration guide before reconnecting.