
Before you start
Add team members and departments and review their permissions. Managers need the relevant scheduling and approval access. A worker’s own view may contain only their shifts and assigned work.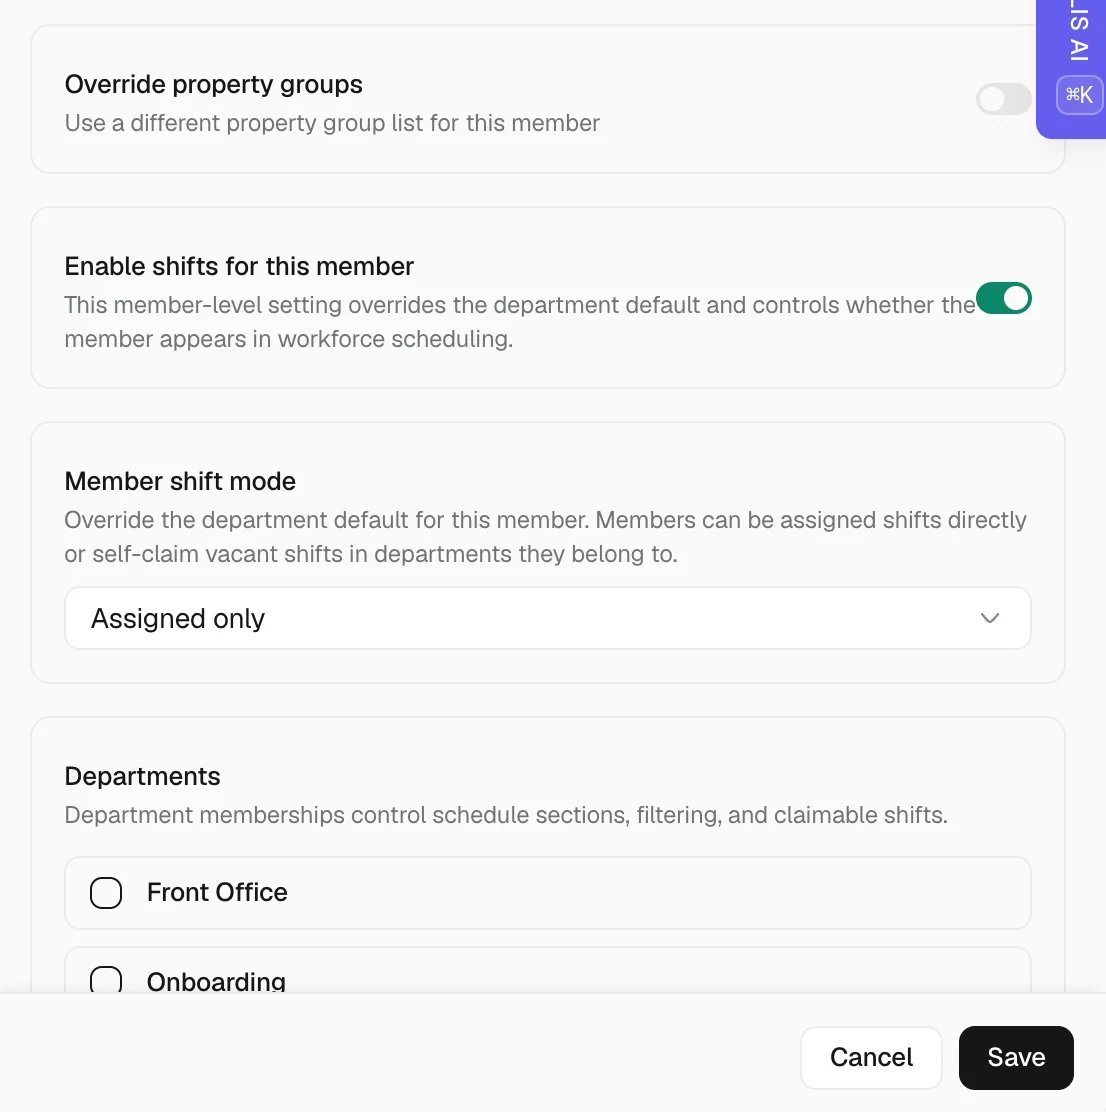
Main areas
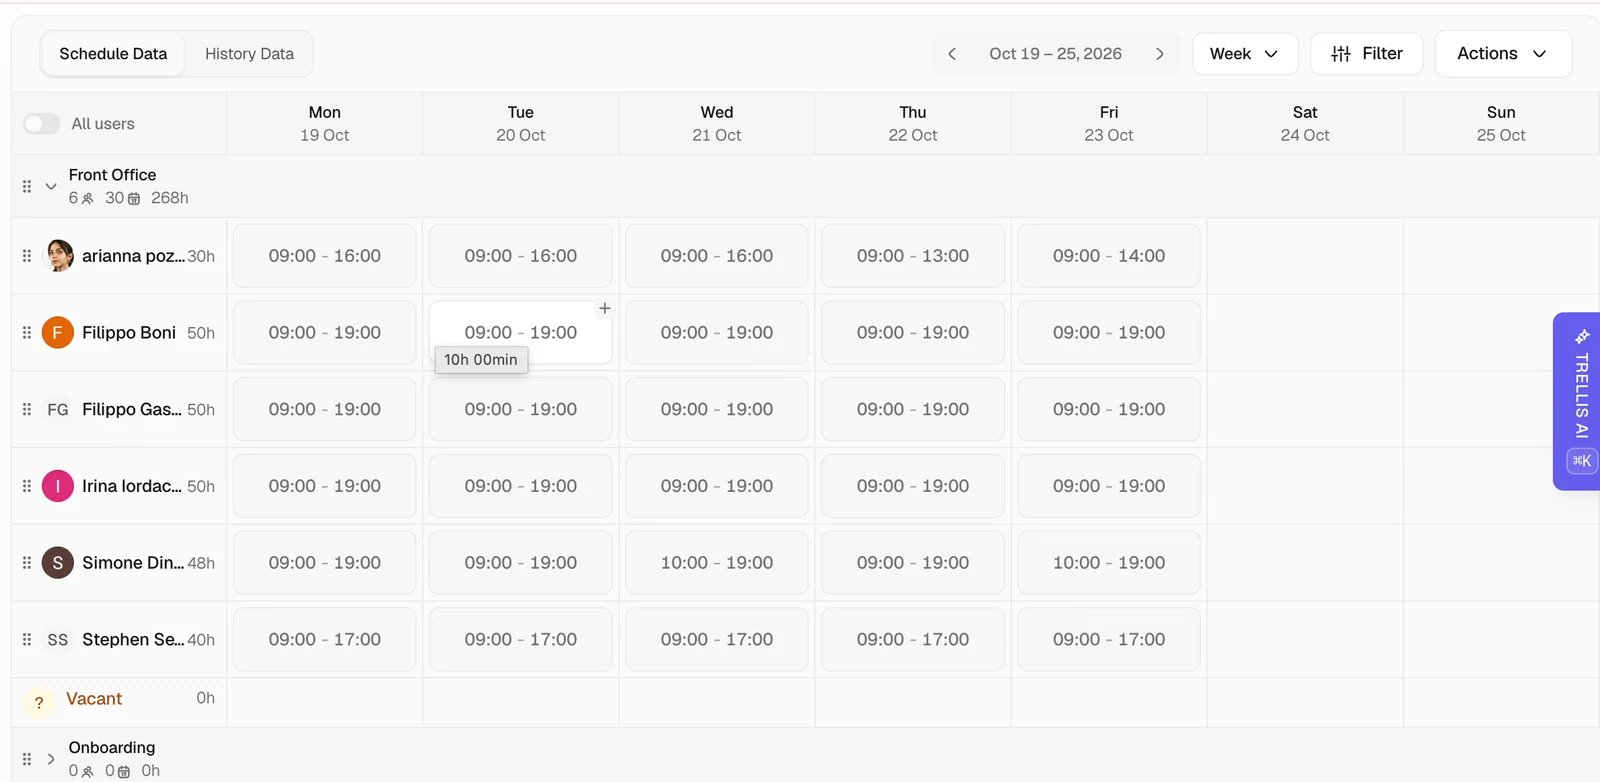
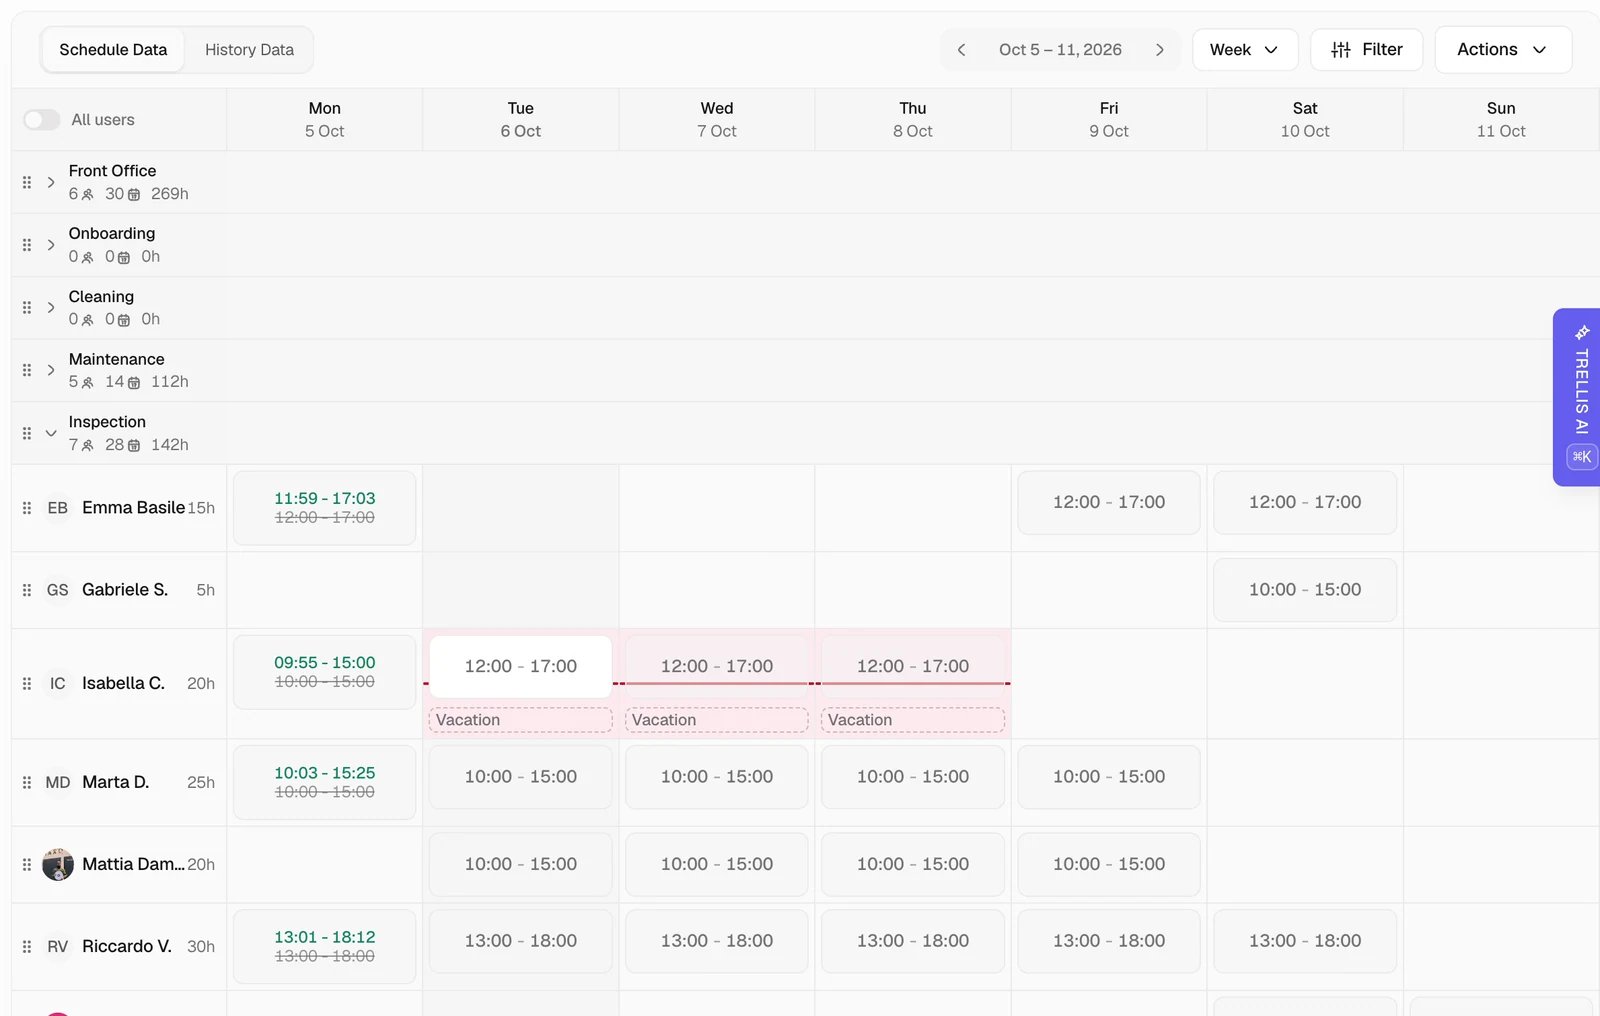
- Schedule: plan working hours by person, department, and date.
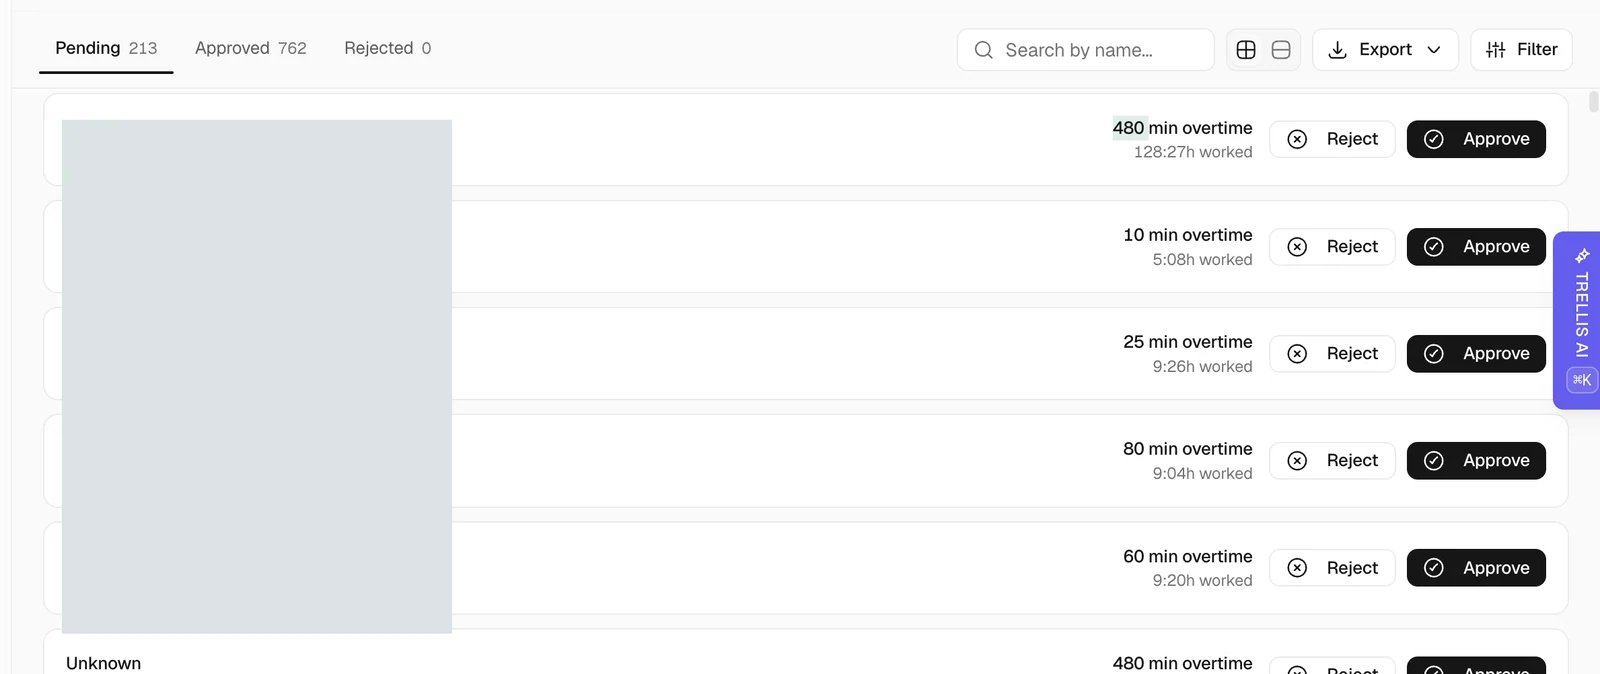
- Approvals: review recorded time that needs a decision.
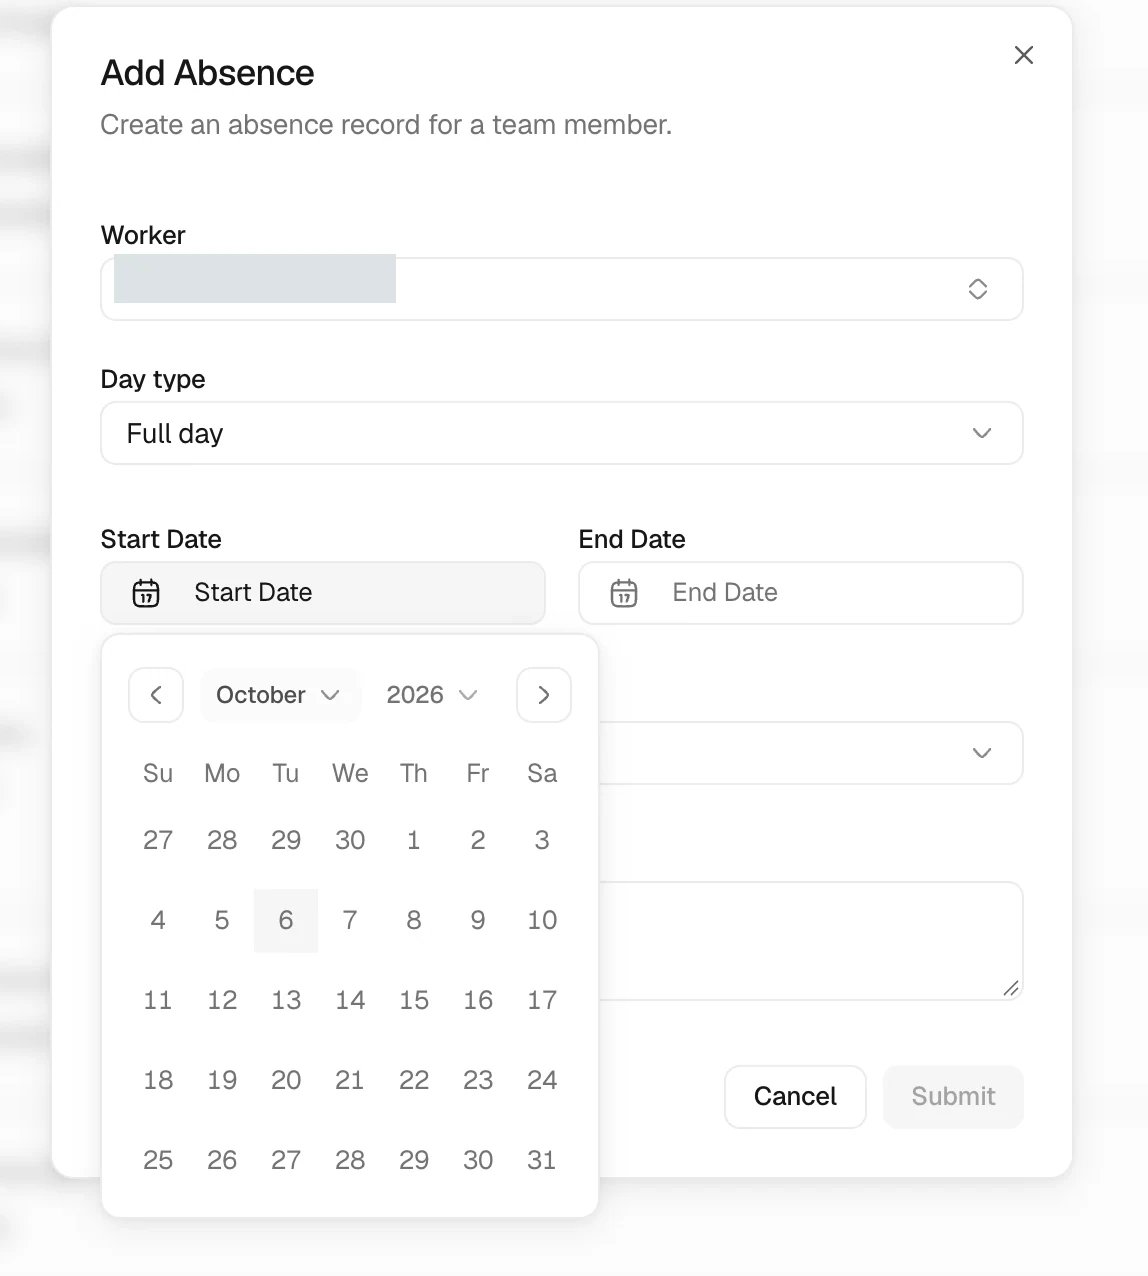
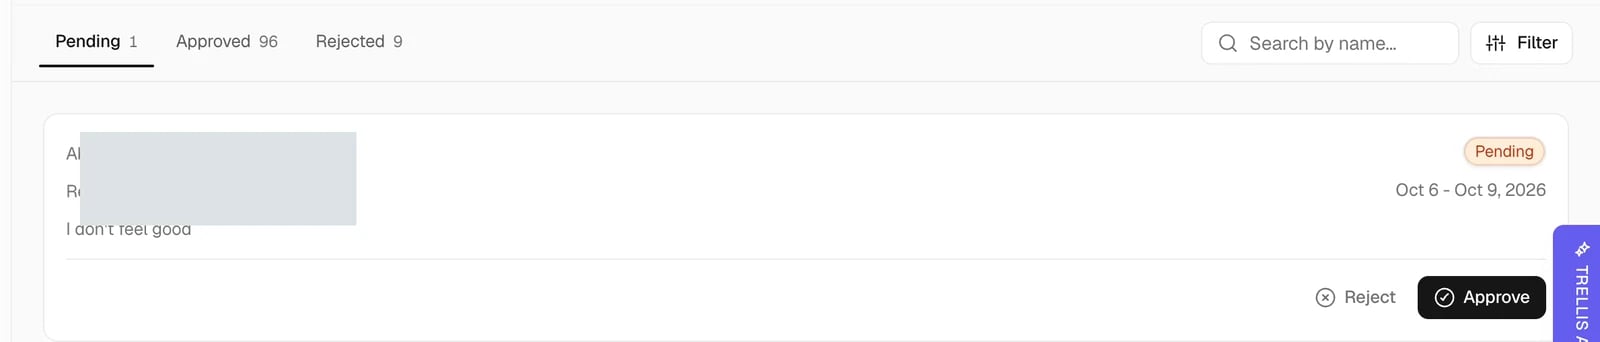
- Absences: request and review time away.
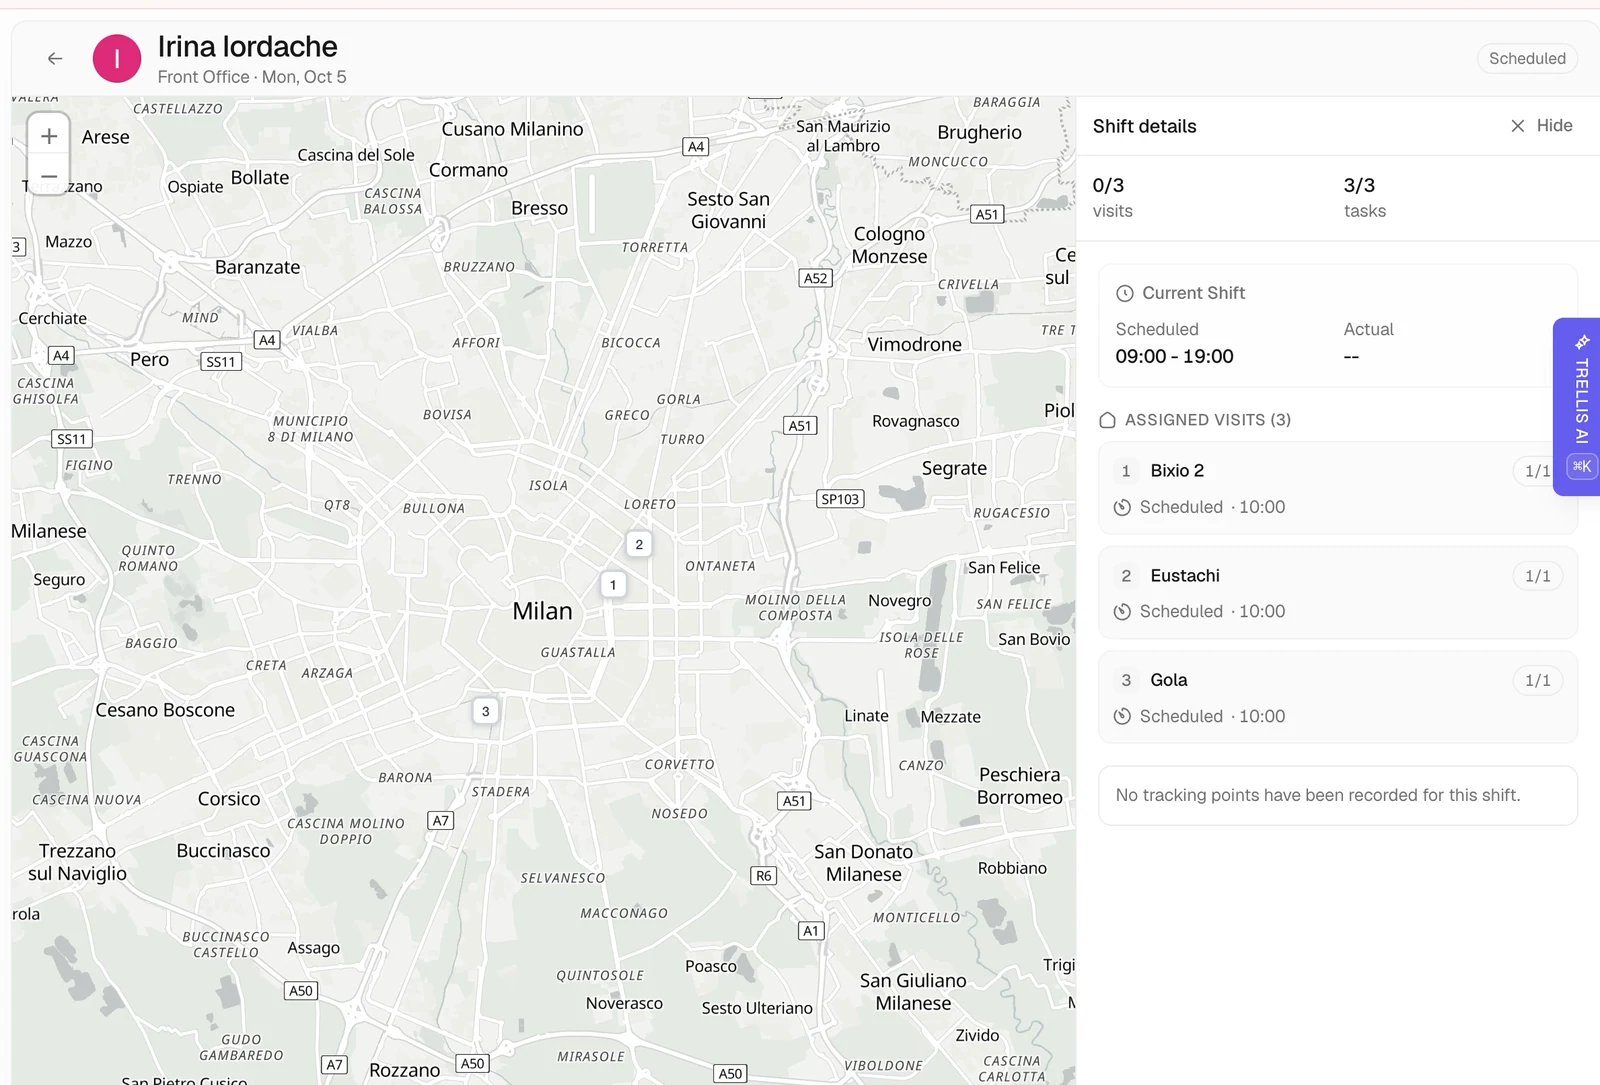
- Shifts: inspect recorded days and their related work.
- Team: maintain people, departments, and their setup.
Plan the schedule
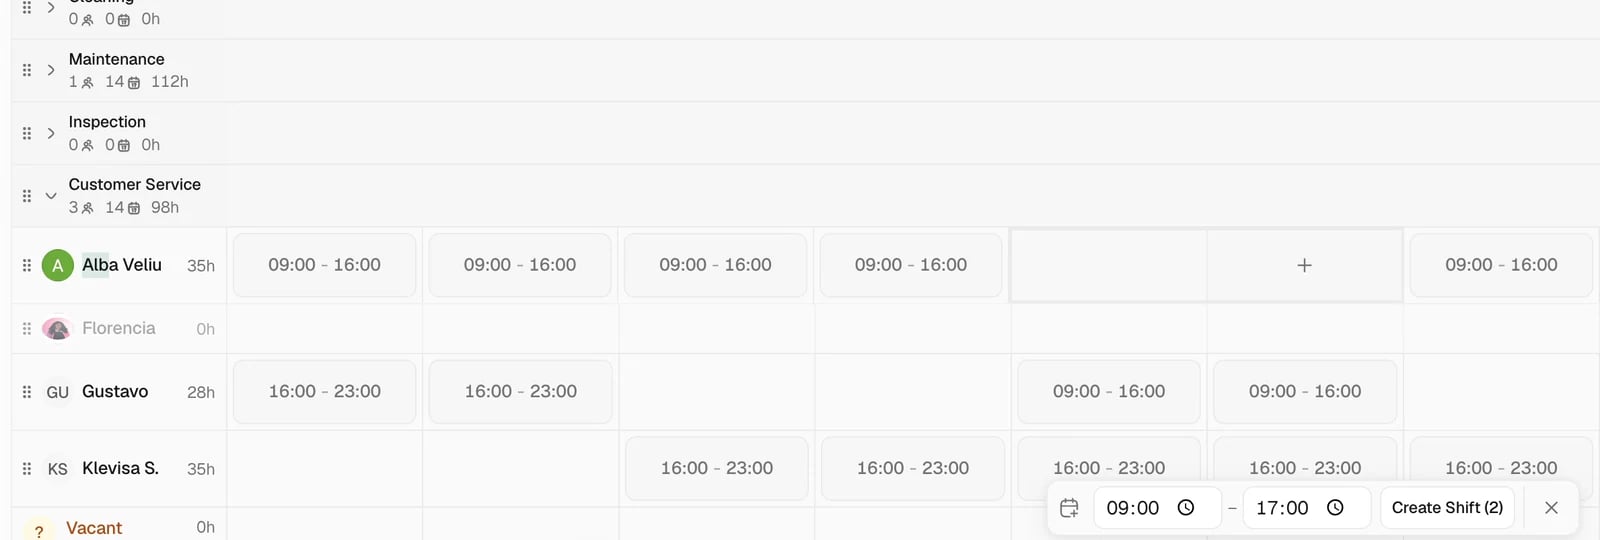
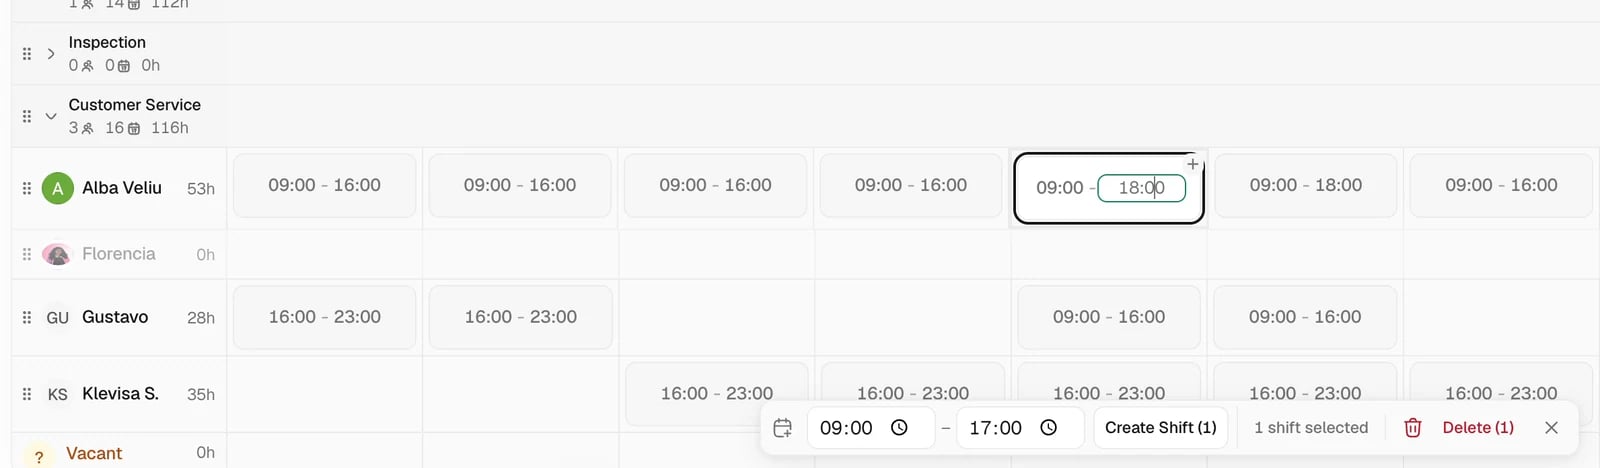
Create and change a shift
Review coverage
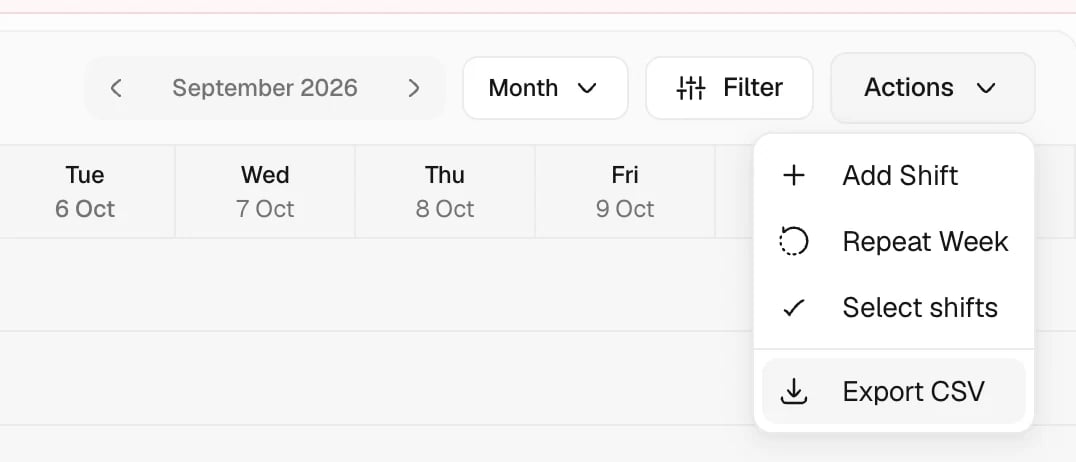
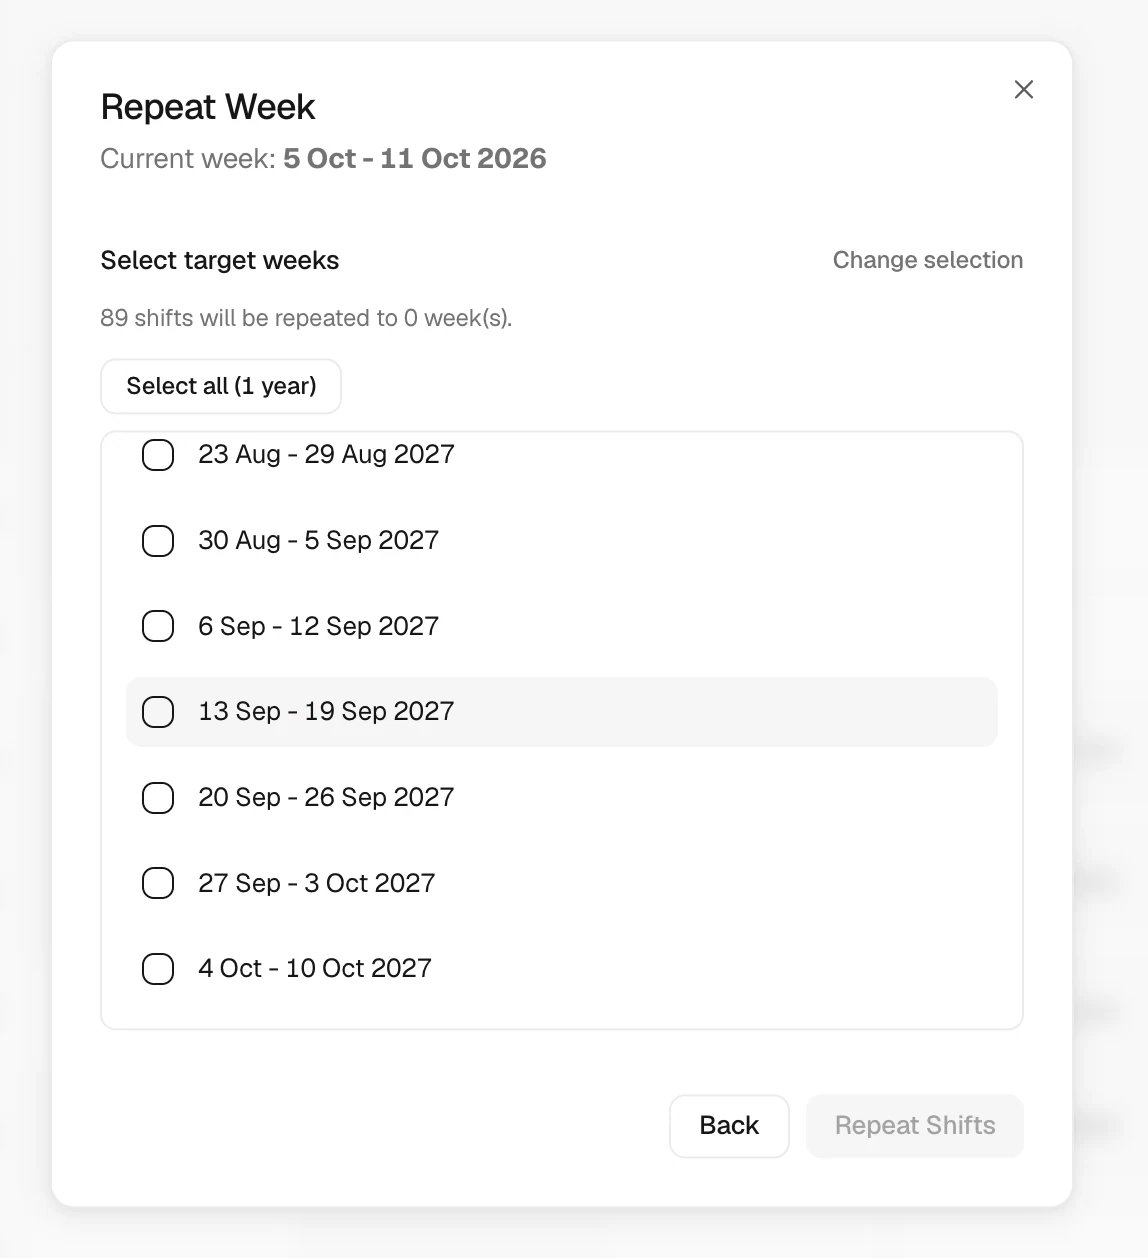
Repeat a working week
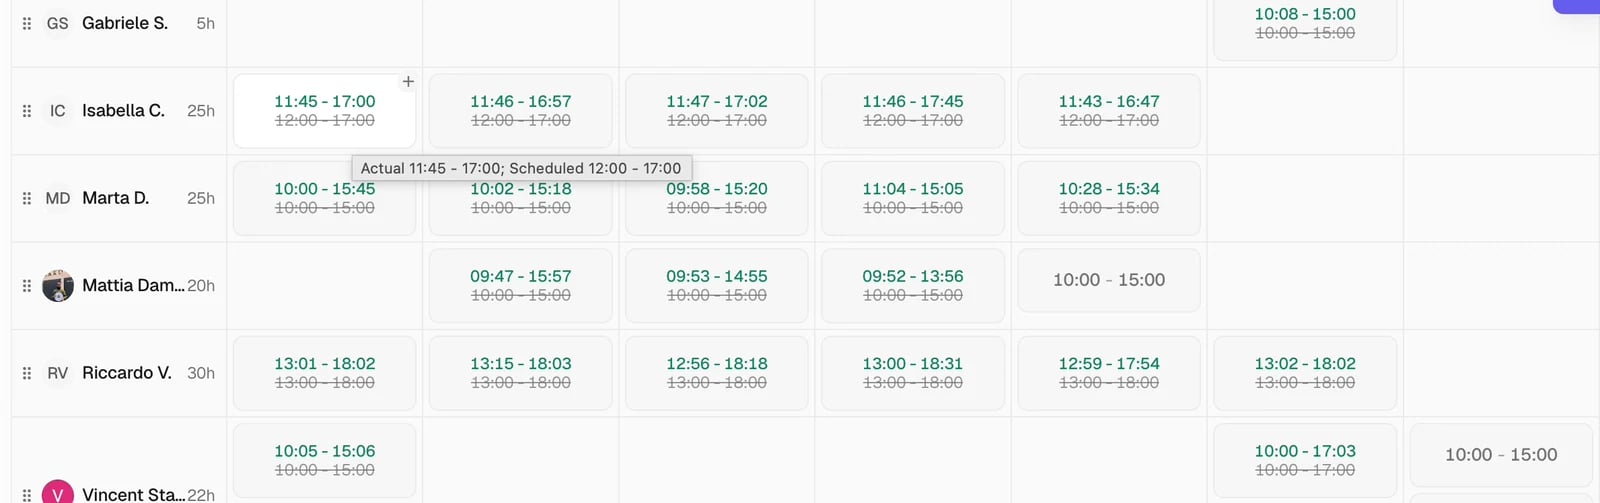
Review recorded time
Manage absences
Inspect a worker’s day
Use Schedule on mobile
In the mobile app, open More > Schedule. Use Me to review your personal shifts and manage your own absence requests. Select Request Absence to add time away, or select an existing request to edit or delete it. Admins and managers can switch to Team to review and manage team shifts. Visits remain available from the separate Visits destination.Set up a vendor
1
Open Vendors
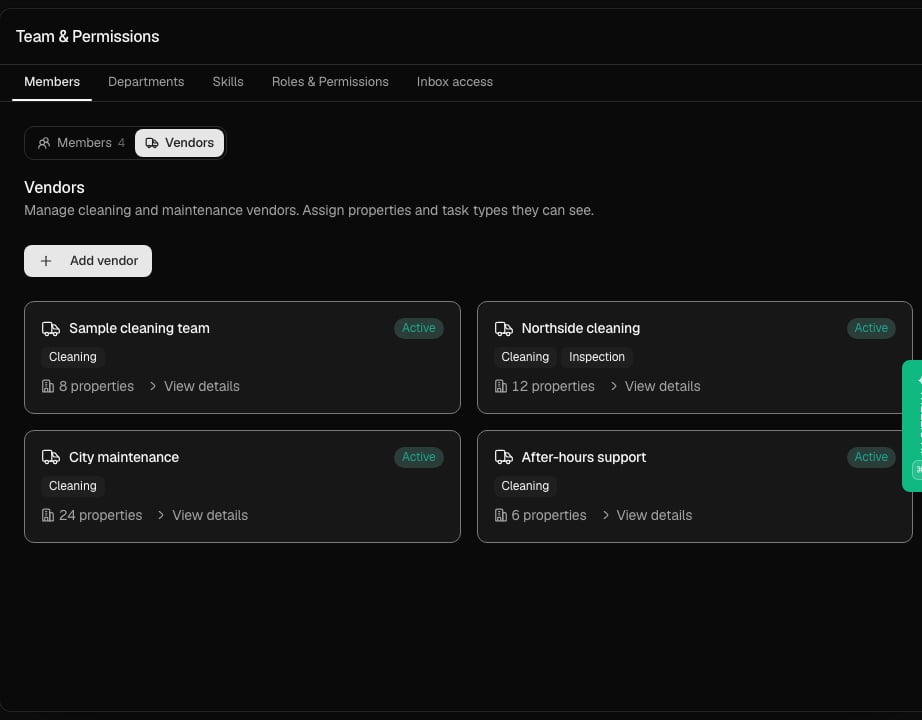
Go to Settings > Team & Permissions, then open Vendors.
2
Add the vendor
Enter the vendor name and the contact who should manage the vendor
workspace.
3
Choose their work
Select the properties and task types the vendor should see. Use default
assignment only when the vendor should receive that work automatically.
4
Confirm access
After the vendor accepts the invitation, ask them to sign in and confirm
that the right properties and tasks are visible.
- Light
- Dark
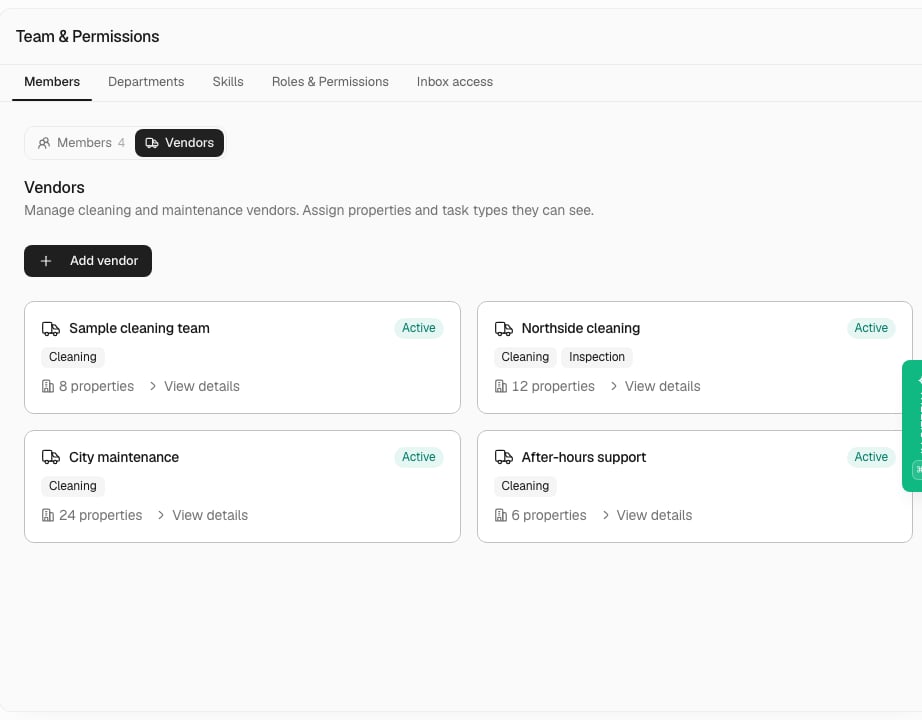
Open a vendor to review its invitation, properties, and task types.
Common problems
A teammate cannot see Workforce
A teammate cannot see Workforce
Review their role and workforce permissions. Some areas are restricted to managers or people with approval access.
A member is missing from Schedule
A member is missing from Schedule
Open their profile and check whether shifts are enabled. Then clear the schedule’s person and department filters.
A worker cannot clock in
A worker cannot clock in
Check their shift setup, active workspace, and any clock-in or device-location requirements configured for your operation.
A department is missing
A department is missing
Check that the department exists and contains the intended people, then review schedule filters.
A vendor did not receive access
A vendor did not receive access
Open Settings > Team & Permissions > Vendors, check the contact email, and use Resend invite when available. Review the assigned properties and task types as well.
Related articles
- Field worker onboarding — complete the first mobile visit.
- Tasks — assign work to the people on your schedule.
- Roles and property access.
- Send a maintenance request to a vendor.